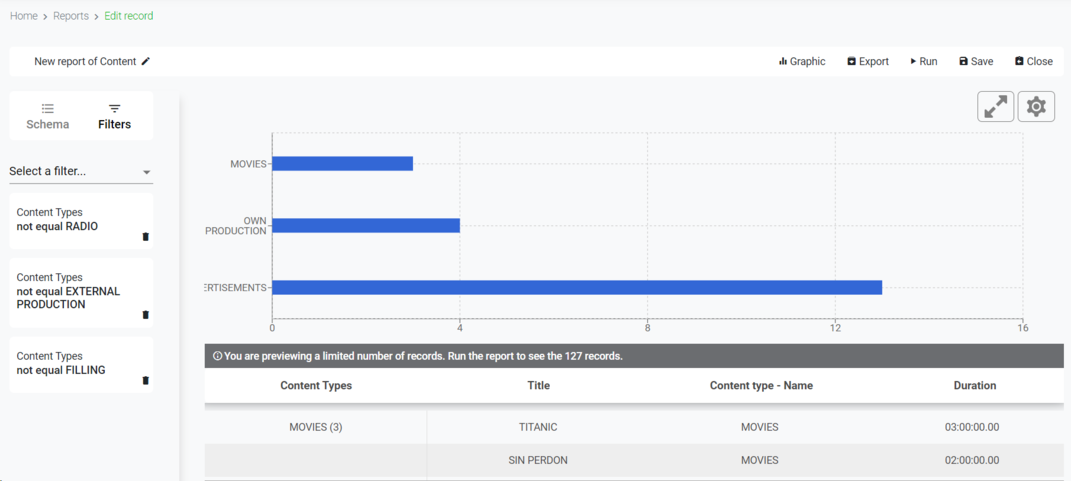
When editing a report record, you will be able to modify the name, select the columns and their order, group by field, apply filters, add graphics, save and export the results.
Edit Name
Click on edit the name of the report.
Introduce a name for your report
Click on to discard the changes. Click on to save the new name.
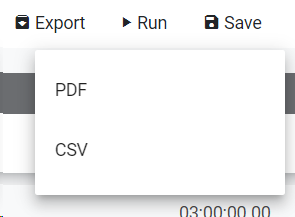
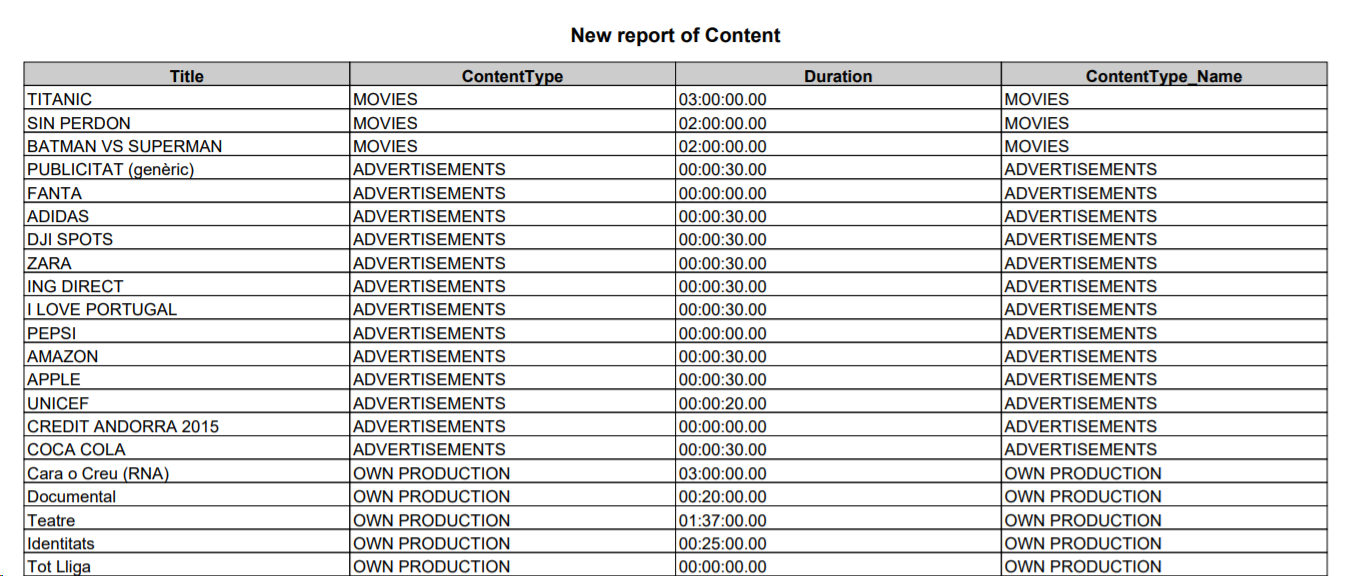
Click to select the different exporting options. You can export PDF, CSV or your own custom export formats.
Click on "PDF" to generate a PDF with the configuration and the results of your report.
Click on "CSV" to generate an Excel file with the results of your custom report
You can also create your own custom exports for each of your reports that will appear in as available options. For more information, go toAdministration >> Custom Export


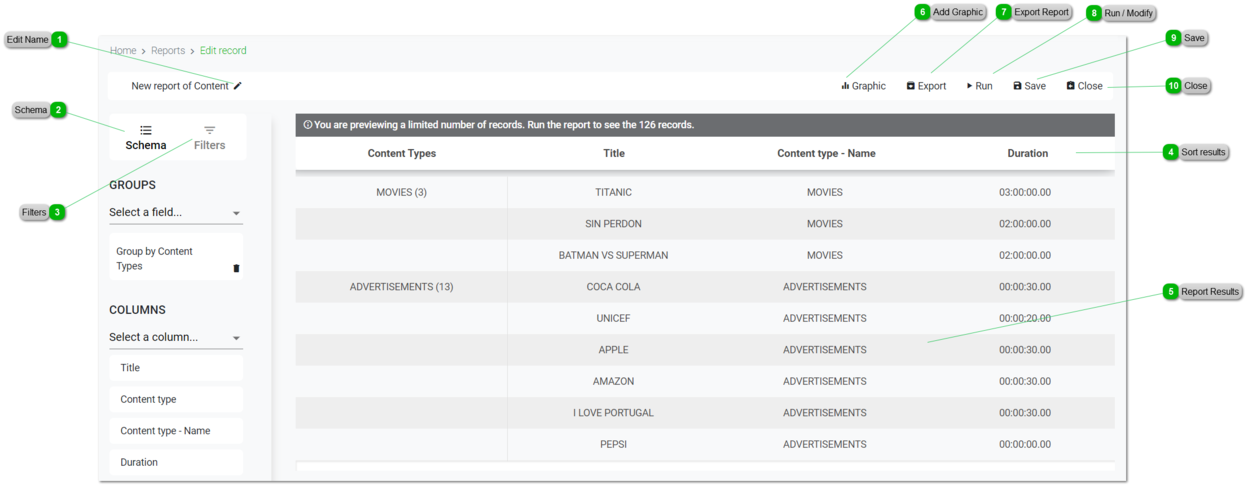


 . Click on
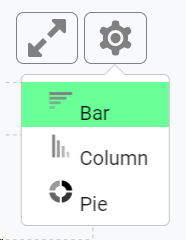
 to change the graphic style of your report. Choose one of the available options: