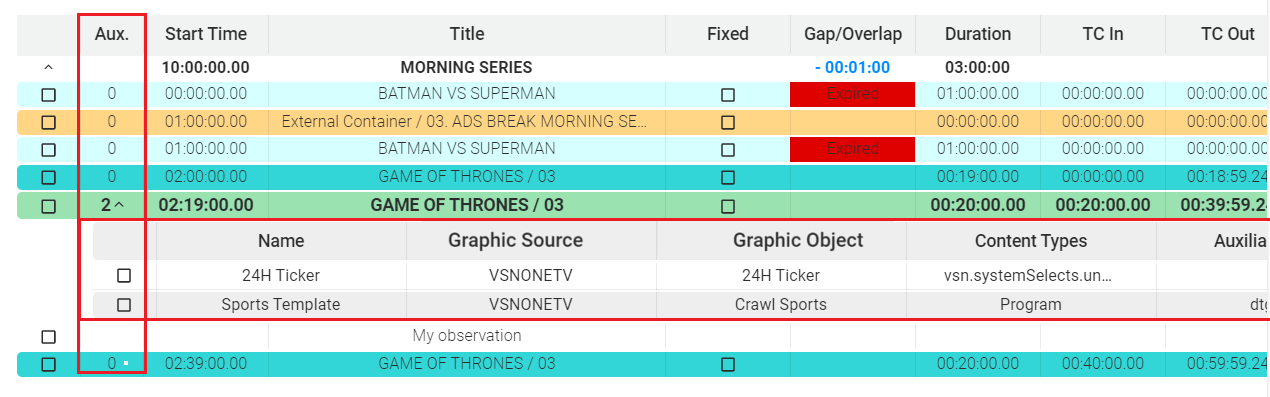
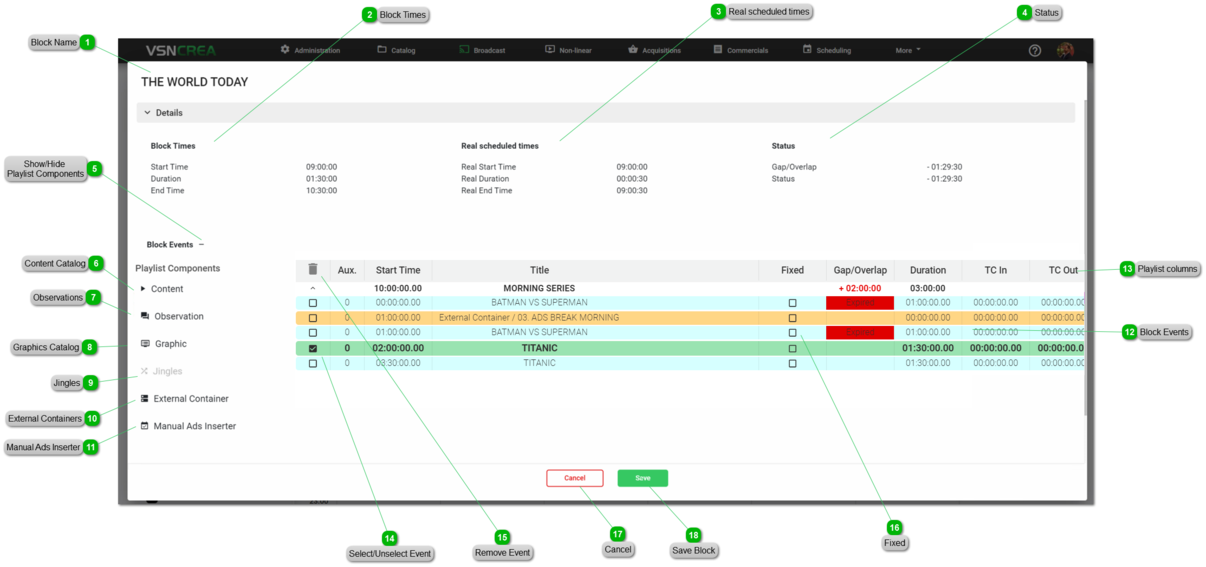
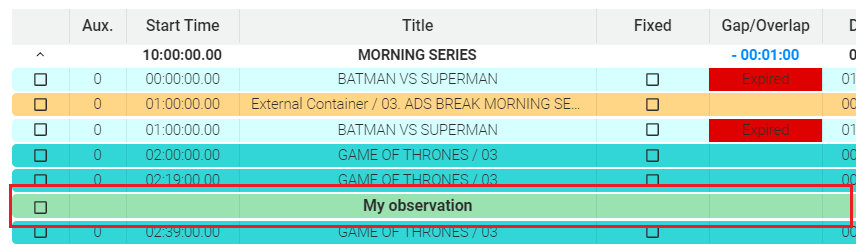
This informative section shows the overall status of the block, indicating the following parameters:
Gap/Overlap. The gap in the block will occur when there is space available to add more events in the block, based on the block duratoin. This gap will be indicated with the '-' and the remaining time . The overlap in the block will occur when the duration of the block has been exceeded. The overlap will be indicated with the '+' and the exceeded time. The Gap/Overlap information is also shown in the corresponding column in the playlist. For example, if this value is "-01:30:00" it means that you still have 1 hour and 30 minutes to reach the block duration. If this value is "+02:00:00" it means that you are exceeding 2 hours out of the block duration.
Status. This indicates if there is a global gap (-) or overlap (+) relative to other blocks.
You can add graphics to any media event. To do so:
Select a main event in the playlist by one click over an event in the block.
Click on
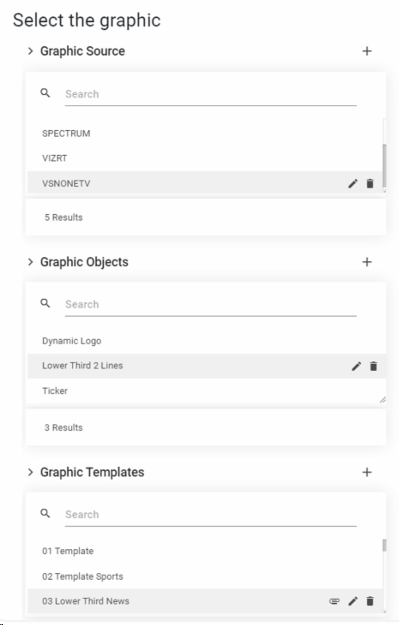
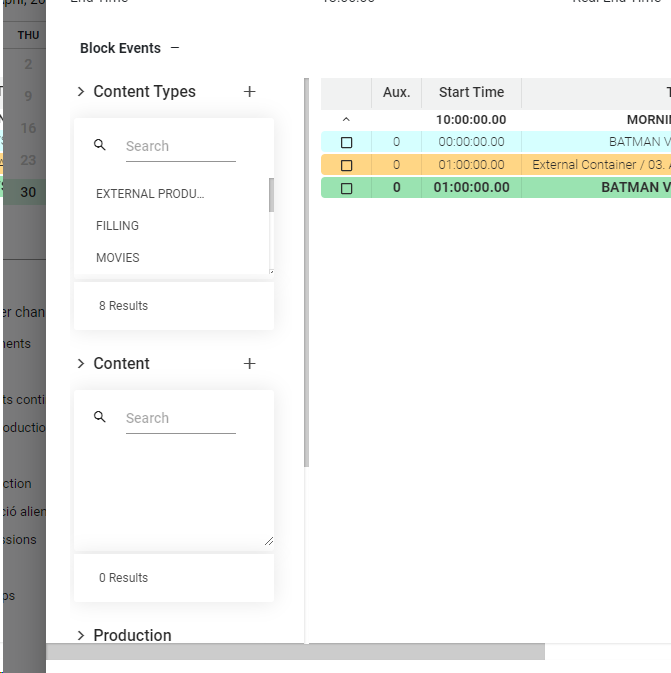
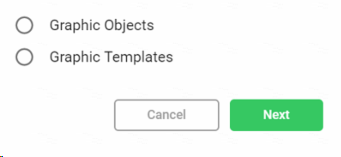
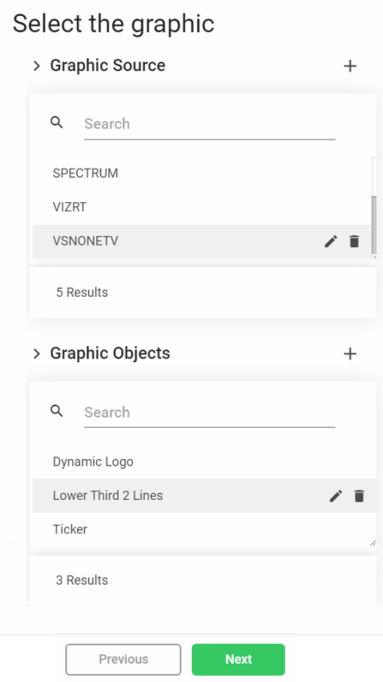
In the dialog panel, select one of the options:
If you select Graphic Objects:
Click
Select the graphic objects from the catalog:
Click
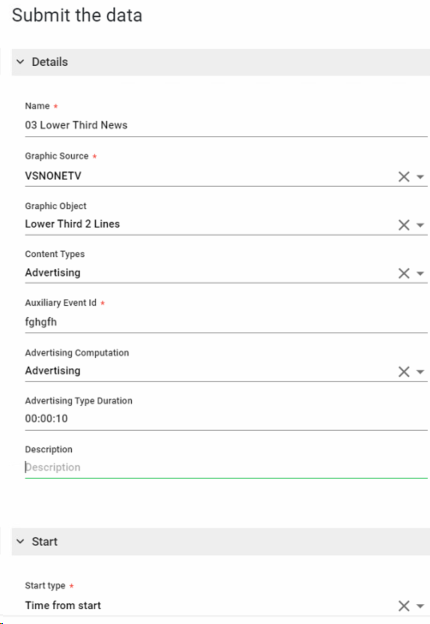
Introduce (at least) all the mandatory parameters of the graphic object:
Click on to add the graphic or to cancel the operation
If you selected Graphic Templates
Click
Select the graphic template from the catalog
Click
Modify, if needed, the parameters of the graphic object template:
Click on to add the graphic or to cancel the operation
Upon clicking the new graphic will be inserted in the main event
Once in the block, you can edit the graphics by double click on any column of the row. This will open the metadata form where you can modify the parameters and save them.
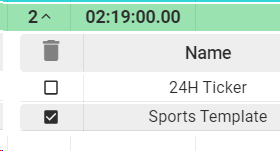
Once in the block, you can delete the graphics by selecting them and lick the icon:
This option will be activated only when selecting the block name.
To add Pre-Roll and/or Post-Roll Jingles into a block, follow these steps:
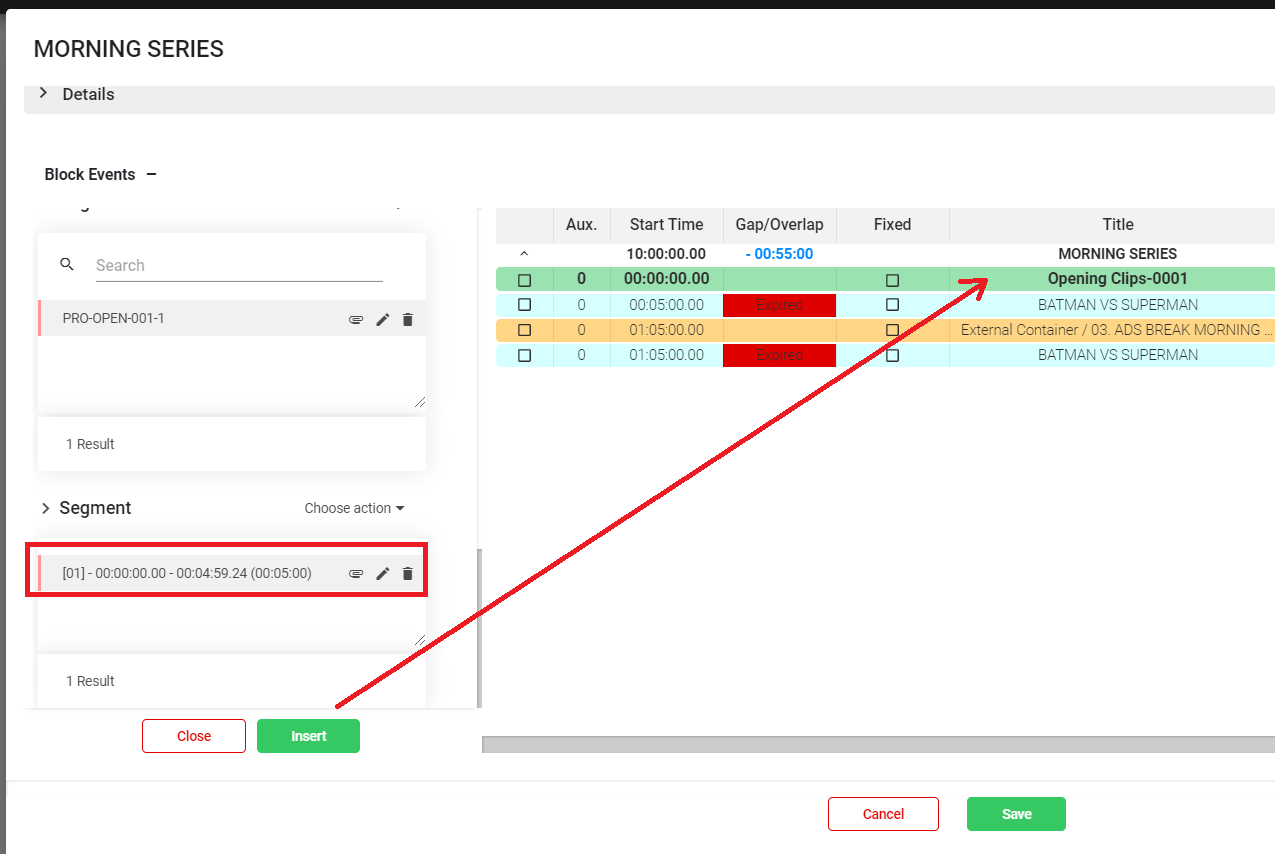
1. Select the first item of the block, that is the Block Name.
2. Click on
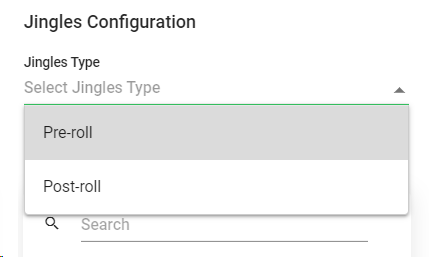
3. The Jingles Configuration panel will be opened. You must select the Jingles Type (Pre-Roll or Post-Roll)
4. In the catalog will only appear the Content Types set as "Filling". Select the productions (segments) from the catalog that you want to use as Pre-Roll or Post-Roll Jingles, and click
5. You can repeat the same process to add more Jingles into the block.
6. Click to save the block.
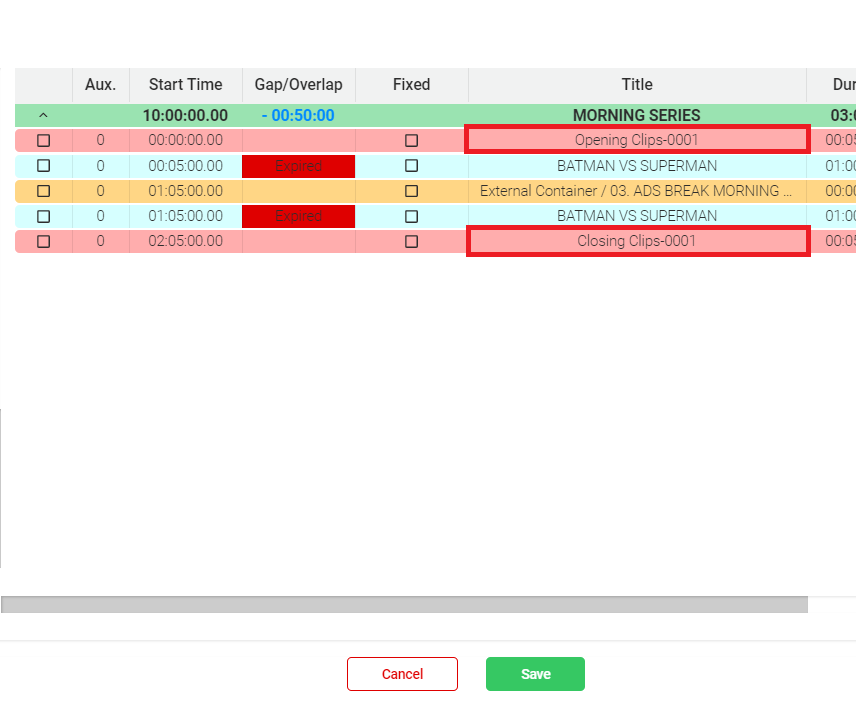
The Jingles will be anchored to the block and they won't be able to be moved within their block.
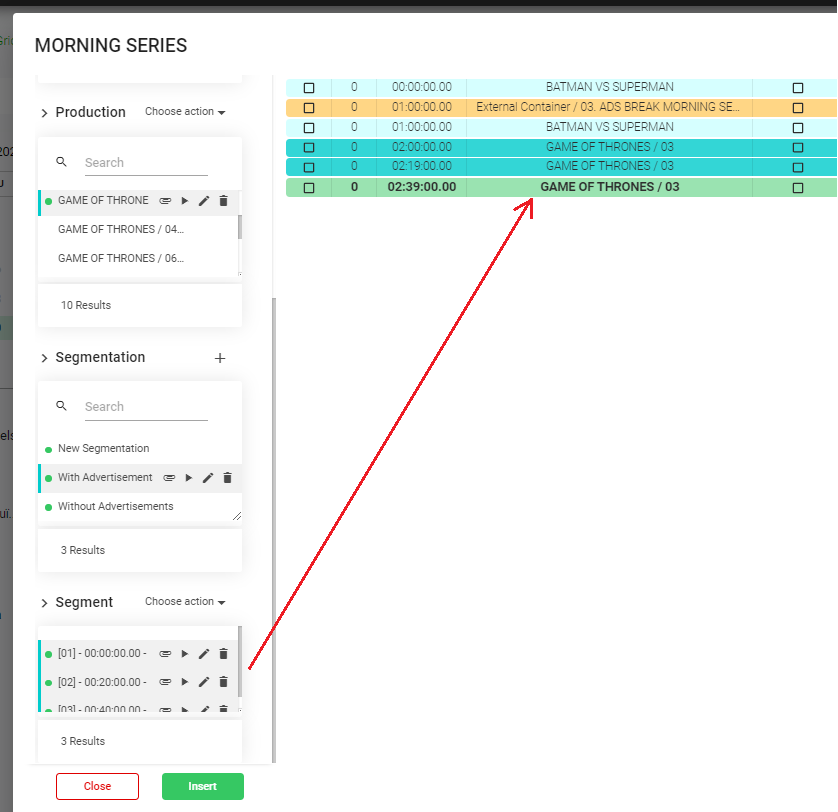
Use this option to insert containers from other subchannels, such as advertisement breaks.
Select one position in the playlist by one click over an event in the block.
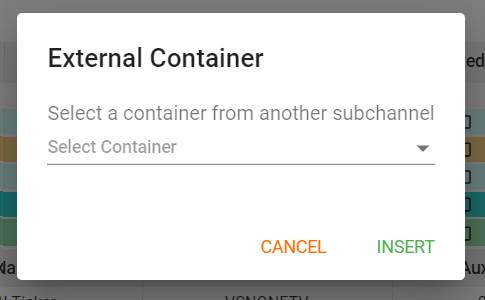
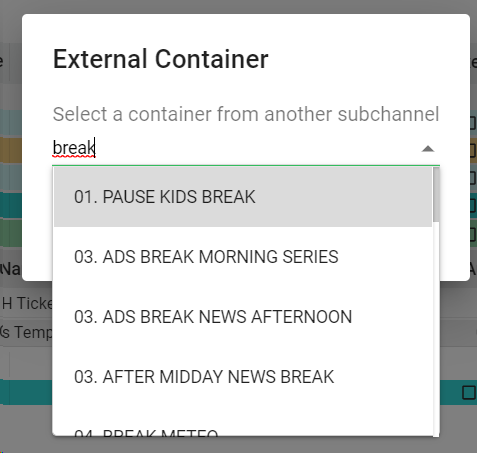
Click on . This will open a window dialog to select the external container:
Select the external container you want to add. You can type a text to start filtering:
Click on to insert the external container or to cancel the operation.
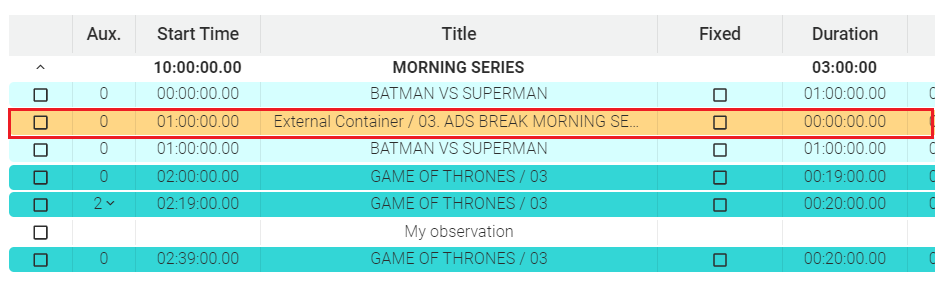
Upon clicking "Insert" the external container will be added in the specific position.
The available external containers that you can add into a block will be the ones belonging to the container type associated with the current subchannel. For more information, go to Subchannels and check the Container Types configuration parameters.
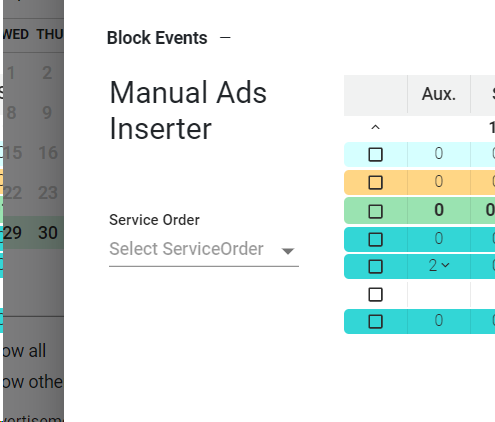
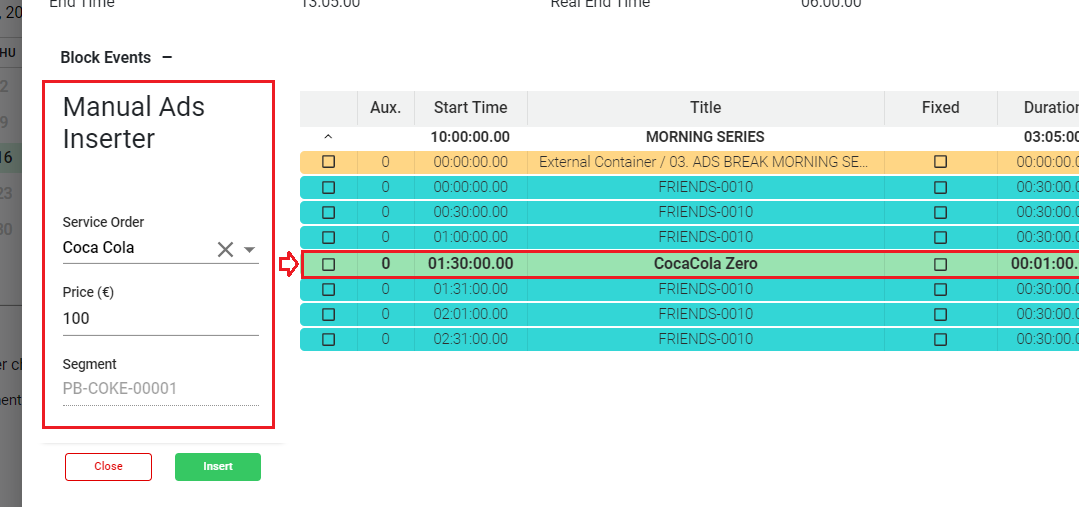
Use this option to manually add advertisements coming from already created commercial service orders. To do so:
Select the position in the playlist where you want to insert the commercial
Click on .
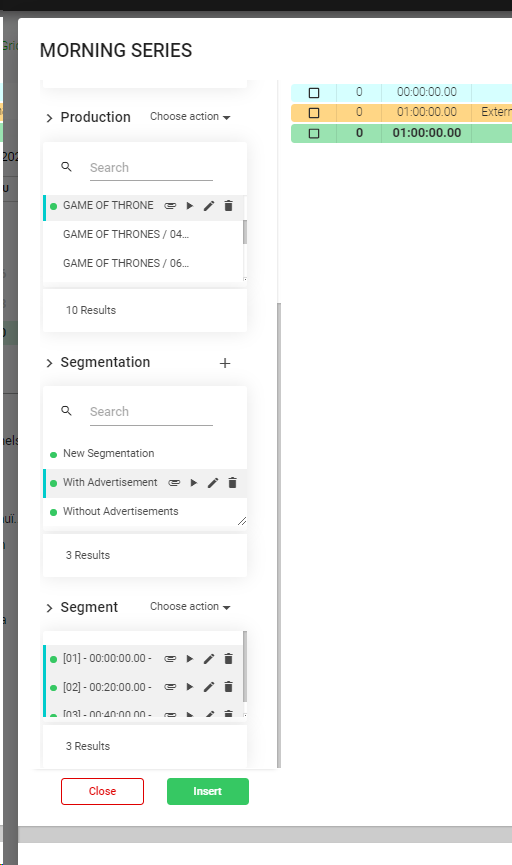
In the left panel, select one of the existing Service Orders.
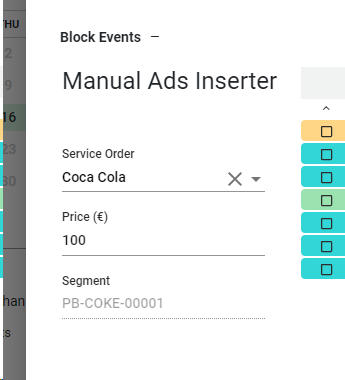
Once selected, you can manually assign a price, and see the segment related to that specific Service Order
Click on to insert the segment as event in the block.
Click on to close the panel.
The Content Types of the advertisements should be enabled for this specific subchannel. For more information, go to Subchannels and check the Content Types configuration parameters.
For more information about Commercial Contracts and Service Orders, go to Commercials
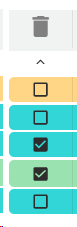
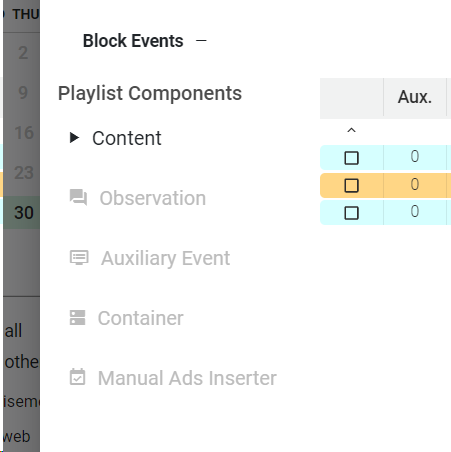
The block events are playlist events belonging to the current block. In the block events area is where you can see the current events of the block. You can reorder the events by drag and drop, remove them, etc.
It is also possible to duplicated (copy/paste) an event just with drag and drop while pressing down the Ctrl key.
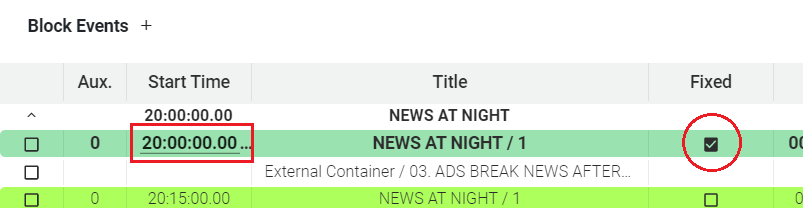
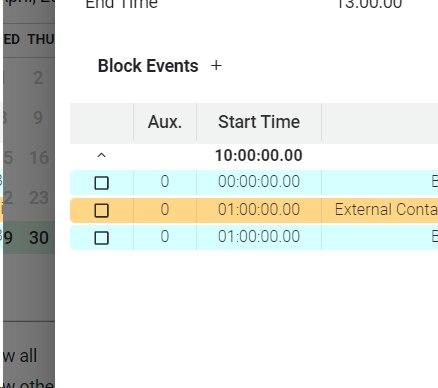
To fix the start time of any event of the block, check this box in the selected event, and modify the Start Time manually. At this moment, the event will start at this specific time


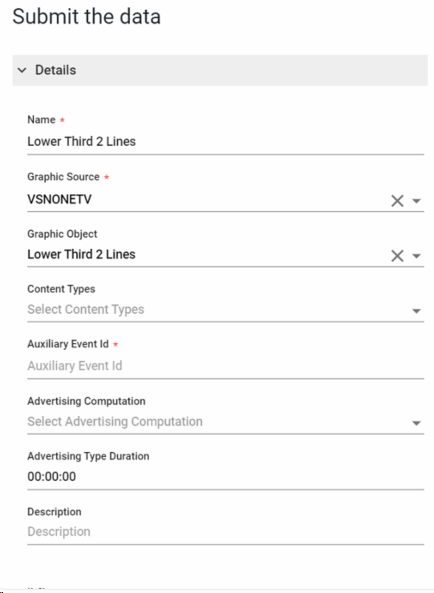
 to add the graphic or
  to cancel the operation