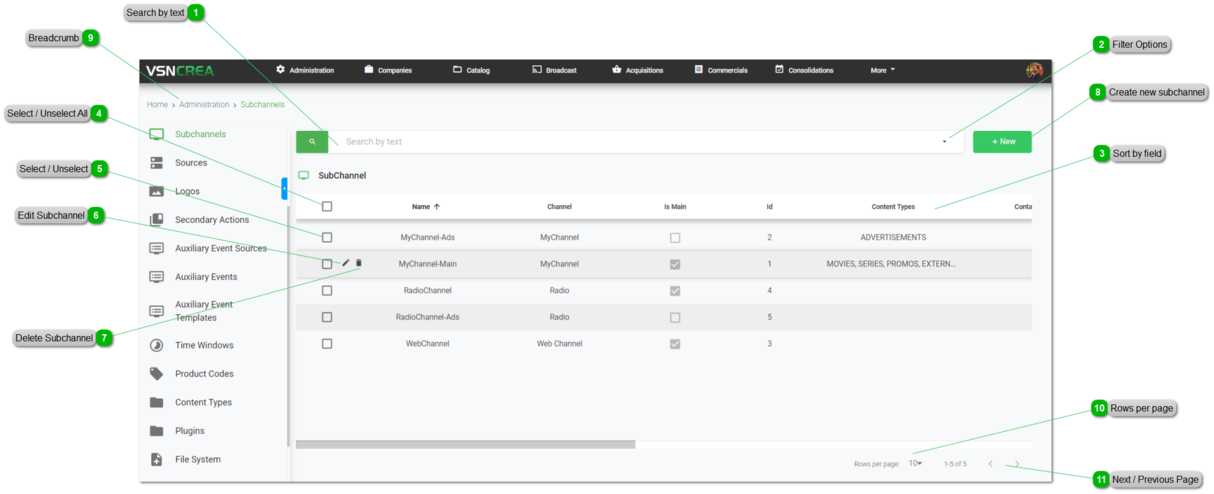
The Subchannels are used to split one channel into different subdivisions for different purposes in terms of type of content and user permissions. The most typical situation is to have 2 subchannels , as divisions of a Channel. Where one could be the main subchannel with the entire scheduling, and the other could be a secondary subchannel just to manage the advertisements by the Commercial Department. Both schedulings will be merged together to the main subchannel when constructing the final playlists.
To create a Subchannel, you need to have one Channel. For more information, go to Channels
Search by text
Start typing a text and click Enter. The system will show you the results matching with your query
Click the drop down menu to display the filtering options. You can filter Subchannels by their Channel. Select your filters and click on the "Search" button.
Click to clear the value and remove the filter.
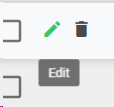
For more information about Channels, go to Channels
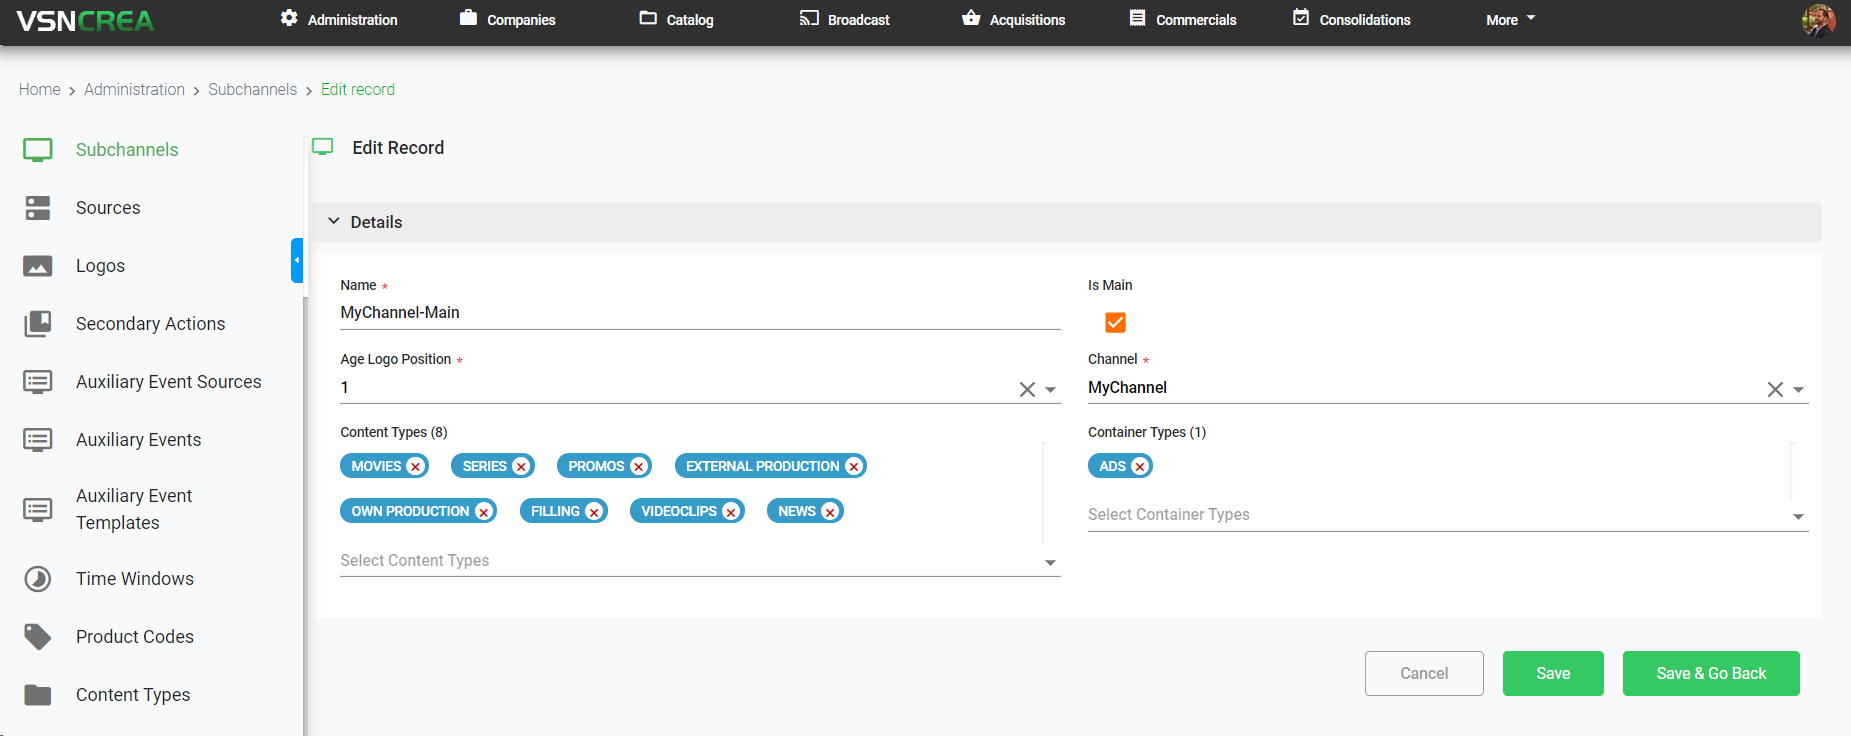
This will open the metadata form, to edit all the available metadata fields:
To cancel the edit, click "Cancel". To save the changes and keep in the edit form, click "Save". To save the changes and go back to the previous list, click "Save & Go Back".
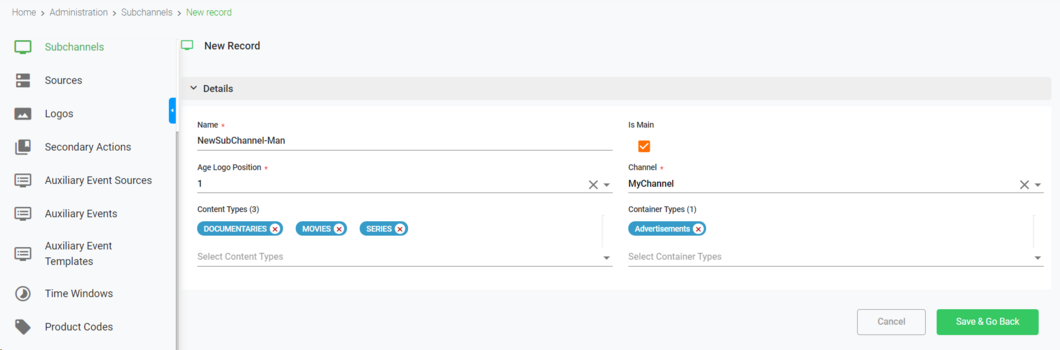
This will open the metadata form, where you must introduce (at least) the mandatory fields.
Name. Name of the subchannel
Is Main. Check this box if this will be the main subchannel of your channel; uncheck this box if this will be a secondary subchannel (for example, for advertisements)
Age Logo Position. Choose any value from the list.
Channel. Select from the list the channel you want to associate with this subchannel.
Content Types. Select the Content Types you want to enable for this subchannel. For more information, go to Content Types
Container Types. Select the Container Types (from other subchannels) you want to enable for this subchannel. For more information, go to Create New Container Type
To cancel the operation, click "Cancel". To save the changes and keep in the creation form, click "Save". To save the changes and go back to the previous list, click "Save & Go Back".


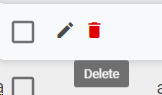
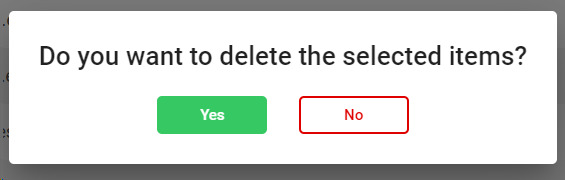
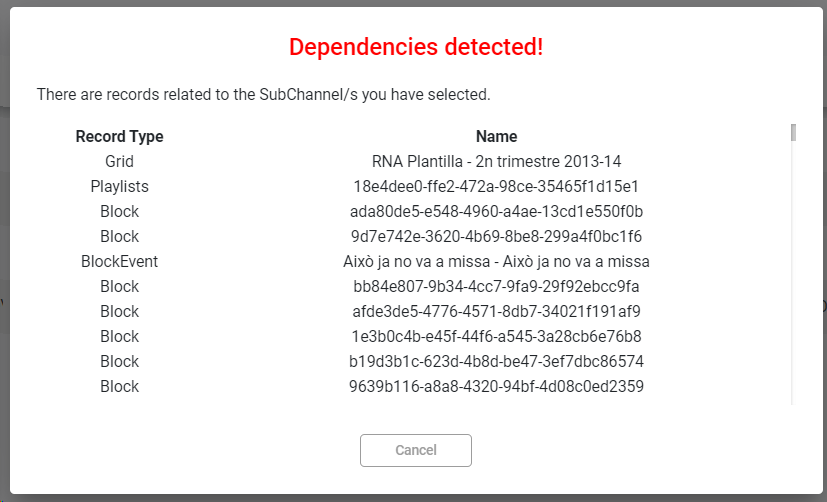
 to delete the selected users, or
  to cancel the operation.