The Commercials module allows users to prepare and plan advertising and sponsorship campaigns, stipulating for each of them the related advertisements, the number of runs, the time slots in which they should be scheduled, as well as the profitability and economic viability of each one of the advertising runs.
When we access the Commercials module we can start managing our advertisement contracts, as well as their service orders. The following sections explain how to access, create and modify your commercials contracts, and schedule the commercial spots based on intelligent and custom rules. For example, commercial spots in Prime Time avoiding repetitions of similar spots in the same block.
To access to the Commercials, just click on in the top main menu.
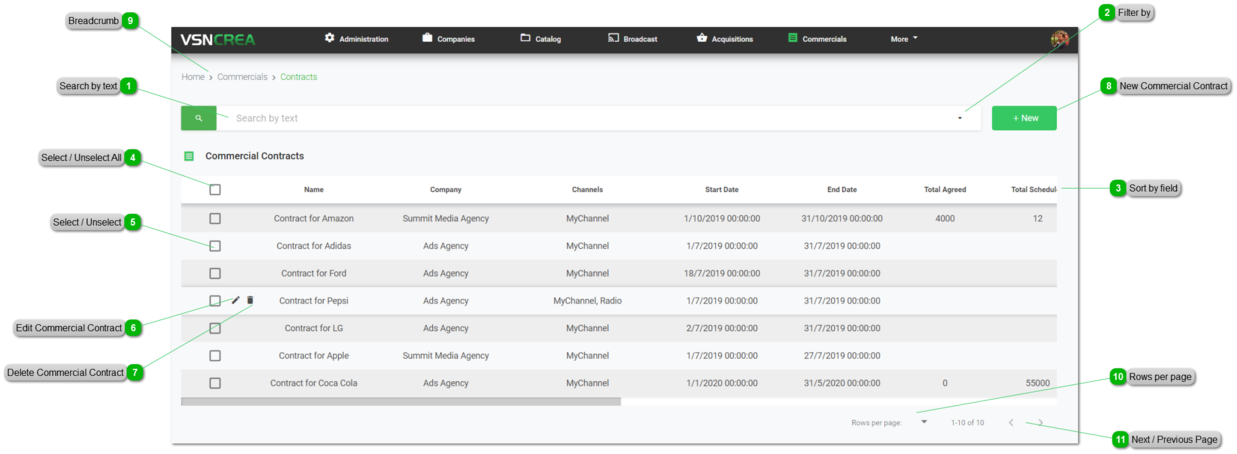
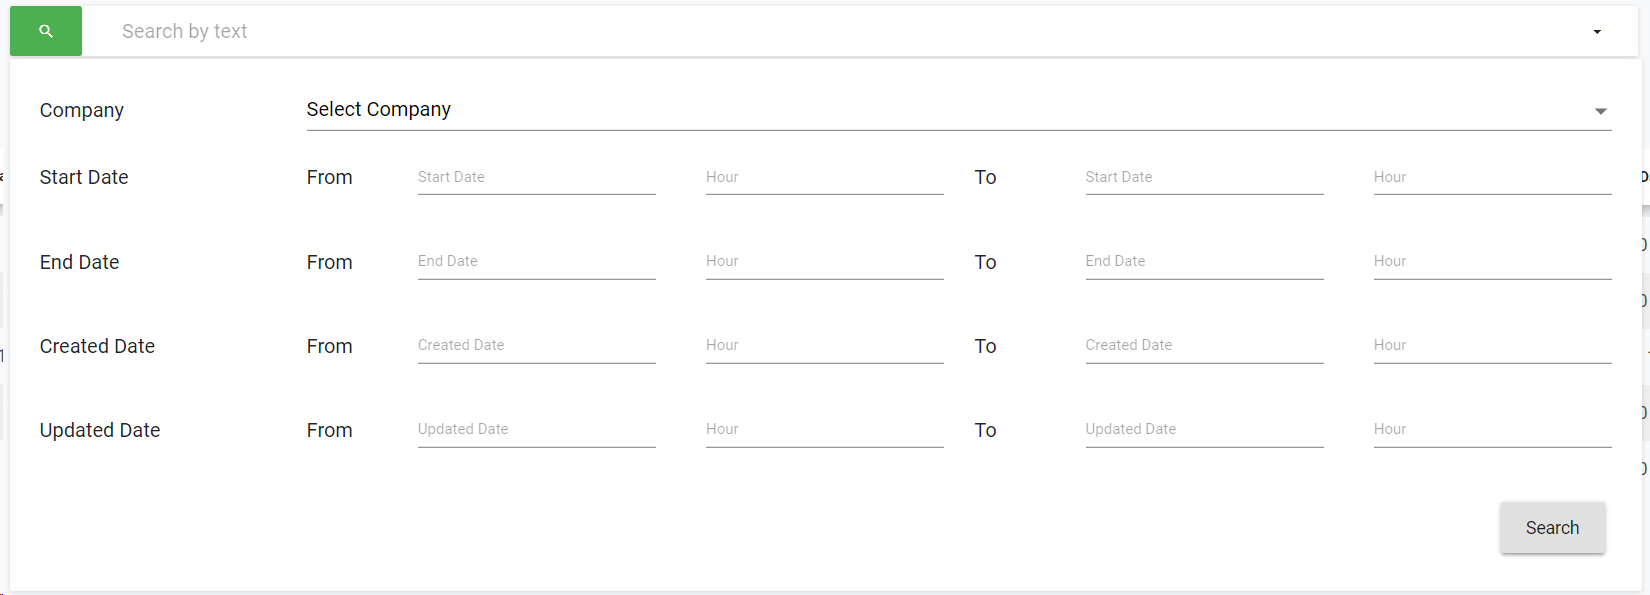
Search by text
Start typing a text and click Enter. The system will show you the results matching with your query
Click the drop down menu to display the filtering options. You can filter commercial contracts by company, start and end contract dates. Select your filters and click on the "Search" button.
Click to clear the value and remove the filter.
For more information about Companies, go to Companies
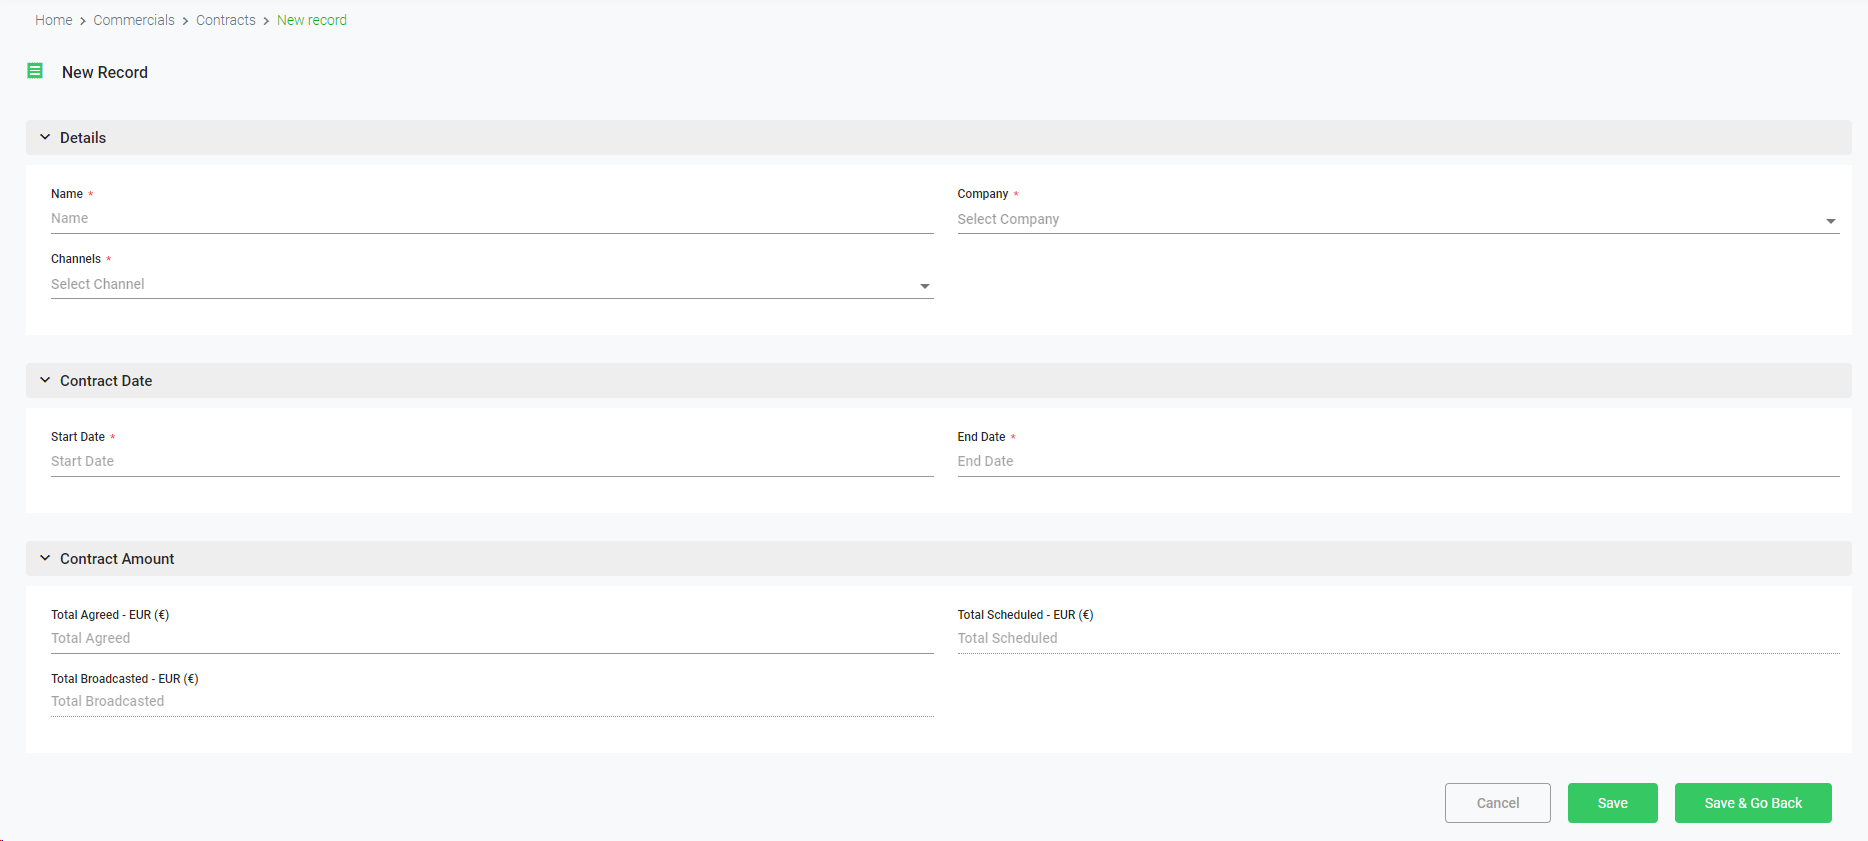
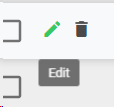
This will open the metadata form, to edit all the available metadata fields:
To cancel the edit, click "Cancel". To save the changes and keep in the edit form, click "Save". To save the changes and go back to the previous list, click "Save & Go Back".
Click on this button to create a new commercial contract.
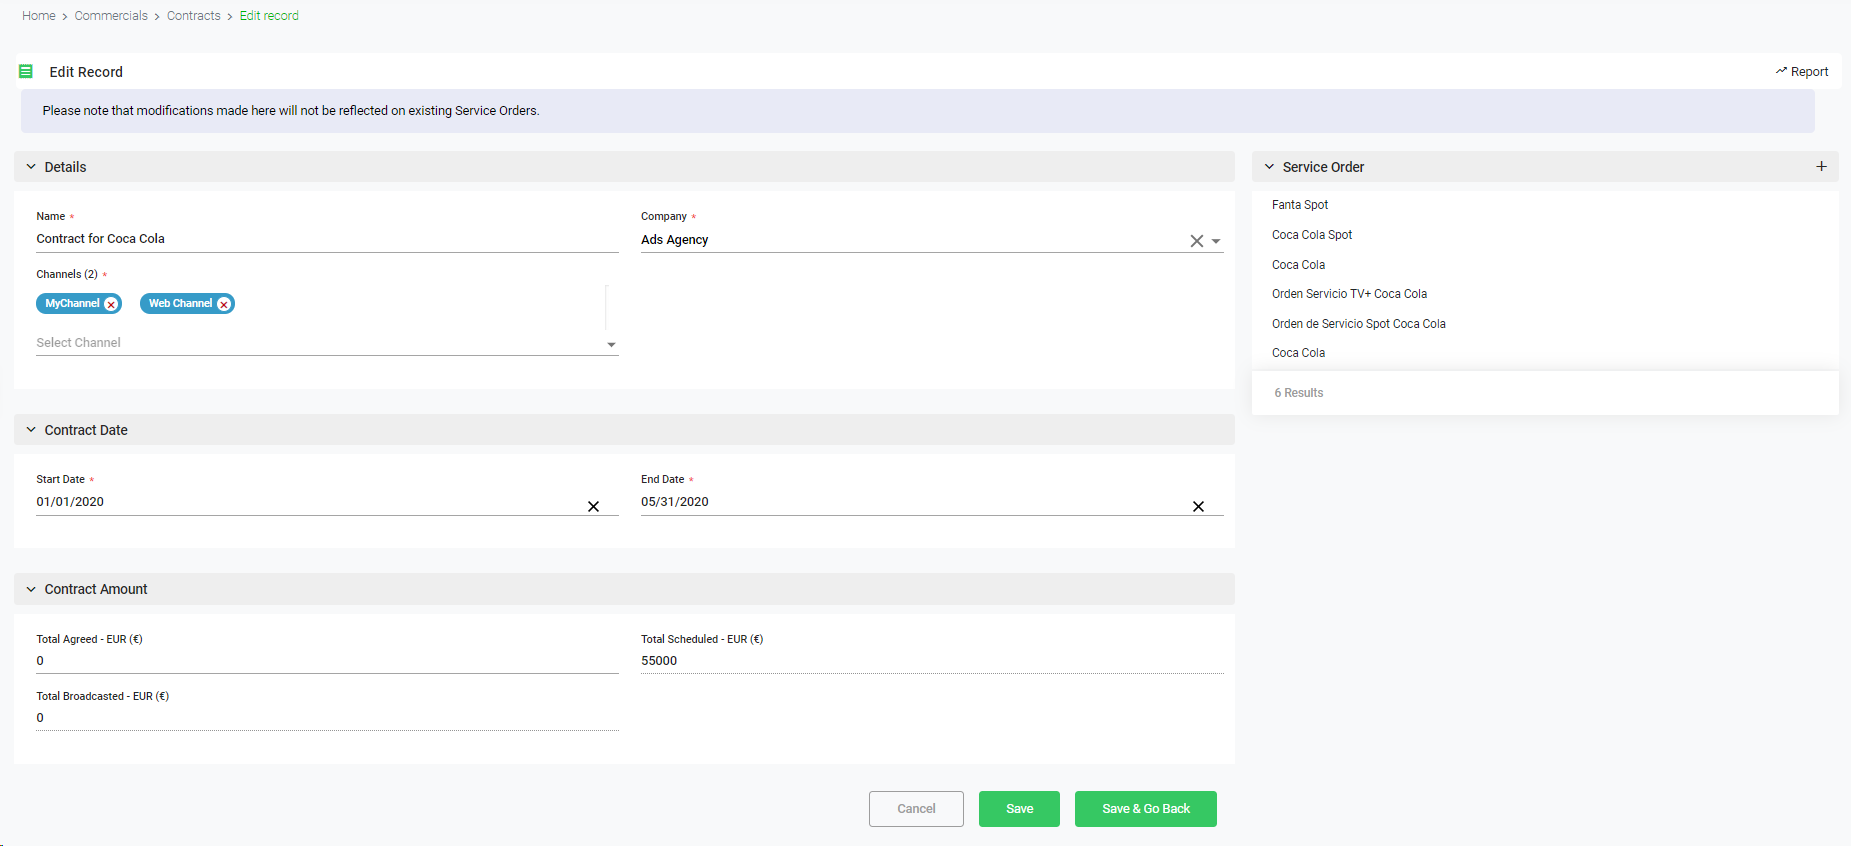
This will open the metadata form, where you must introduce (at least) the mandatory fields.
Name. Name of the commercial contract.
Company. Associate a company to your commercial contract. This could be, for instance, an ads agency or advertiser. For more information, go to Companies
Channel/s. Select the channel or channels for which the contract refers
Contract Start Date. Pick a date from the calendar to indicate when the contract should start.
Contract End Date. Pick a date from the calendar to indicate when the contract should finish.
To cancel the operation, click "Cancel". To save the changes and keep in the creation form, click "Save". To save the changes and go back to the previous list, click "Save & Go Back".


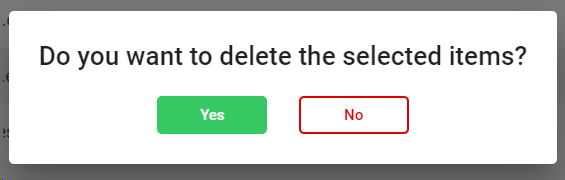
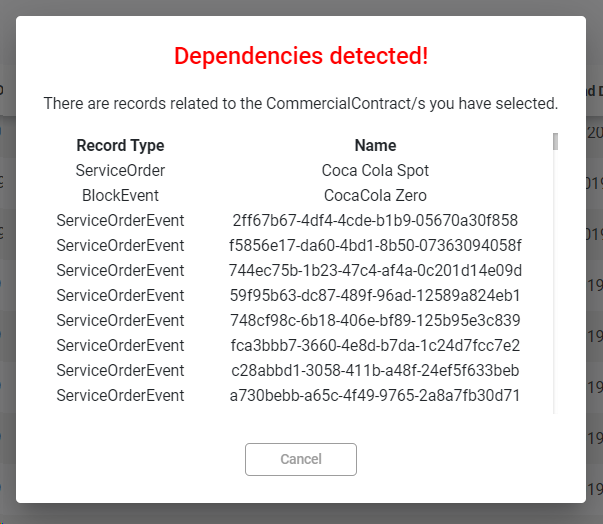
 to delete the selected users, or
  to cancel the operation.