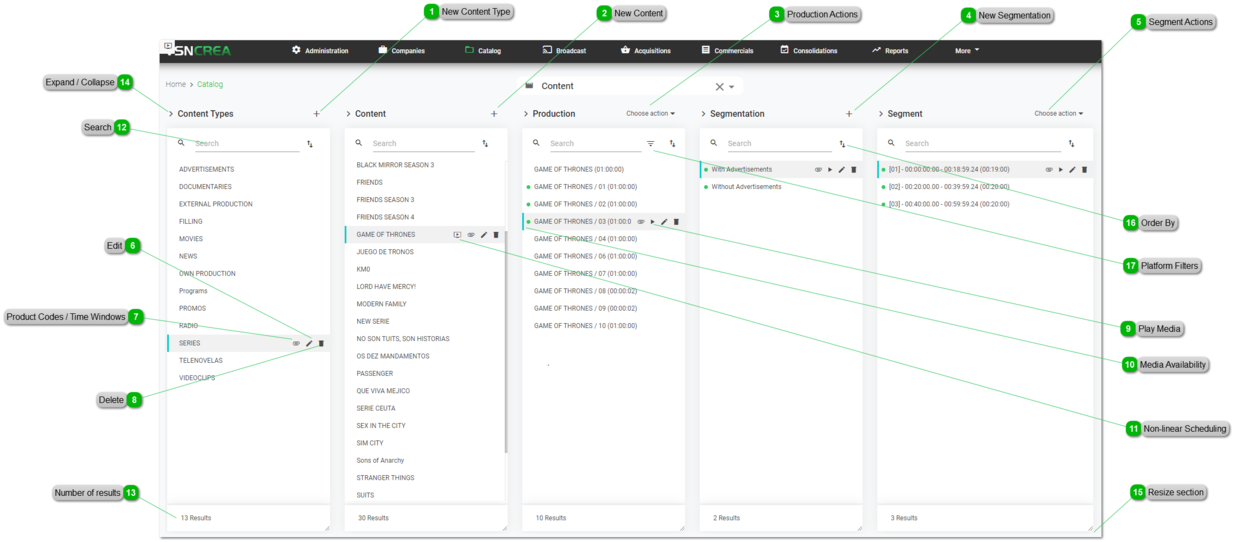
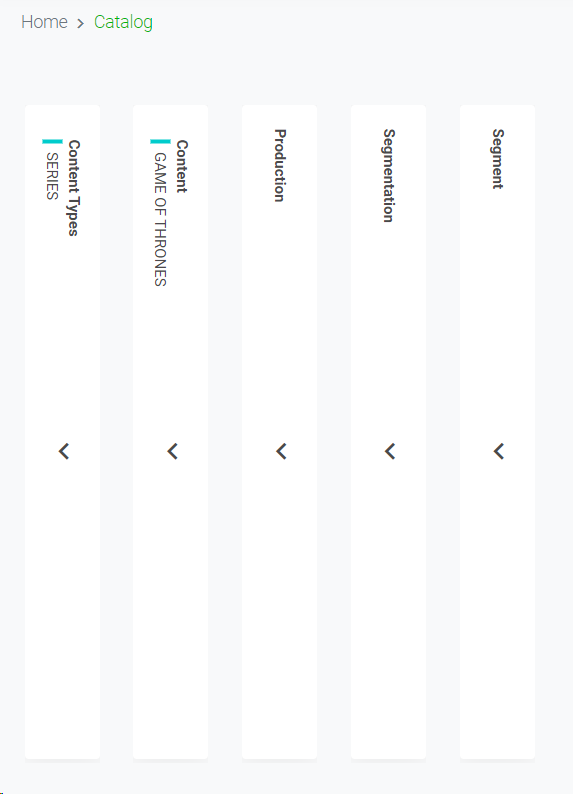
From the Content Catalog interface, users will be able to search, edit, manage and create new content, such as advertisements, programmes, live broadcasts, promos, etc.
New Content Type
Click on to Add a new Content Type
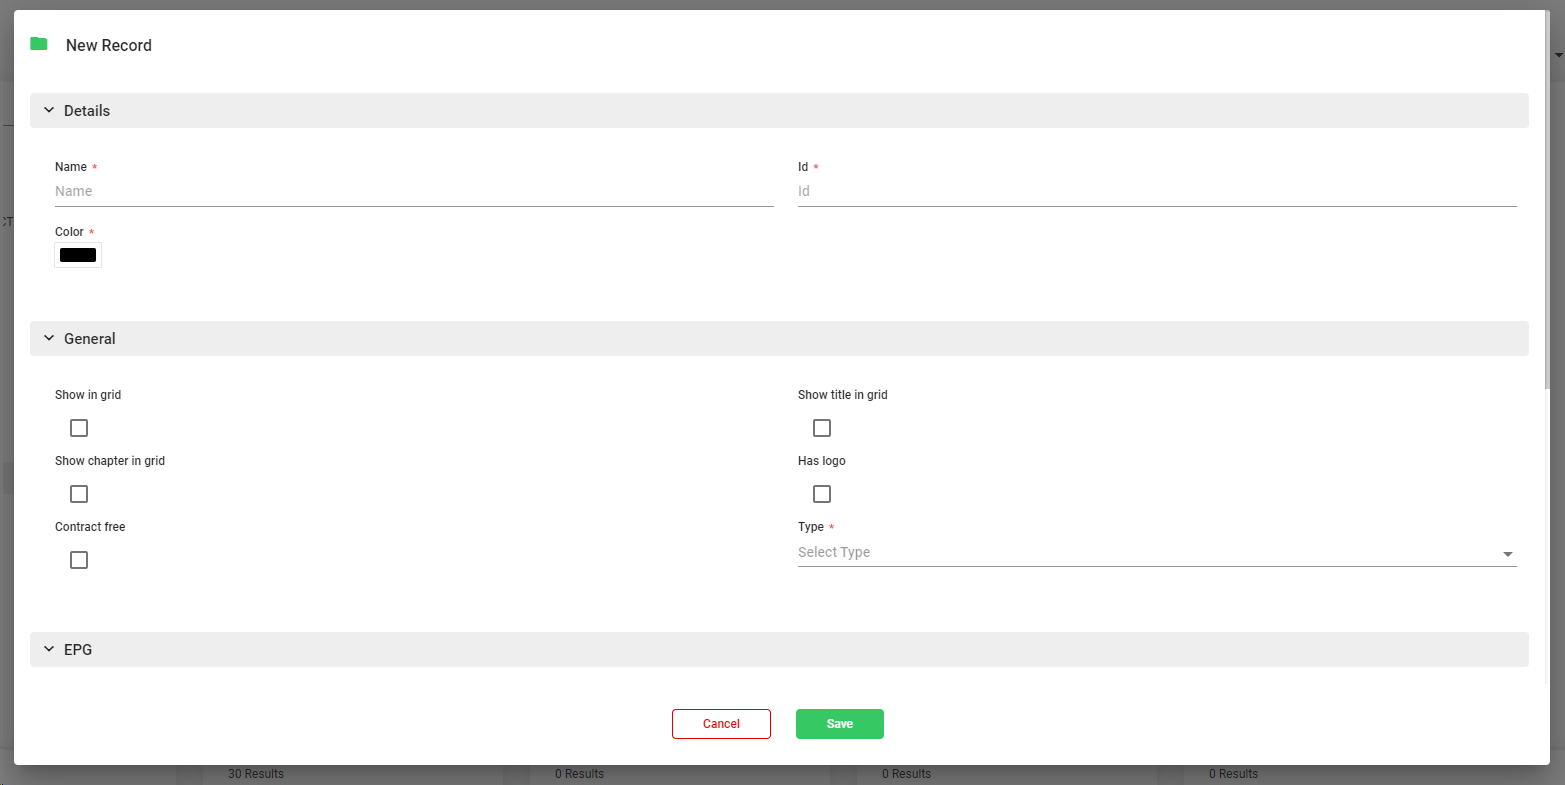
This will open the metadata form, where you must introduce (at least) the mandatory fields.
Name. Name of the Content Type (f.ex: "Movies", "Series", "Advertisements")
Id. Identifier of the Content Types (f.ex: "MOV", "SER", "ADS"). The recommended length of the ID can be set in the global Configuration
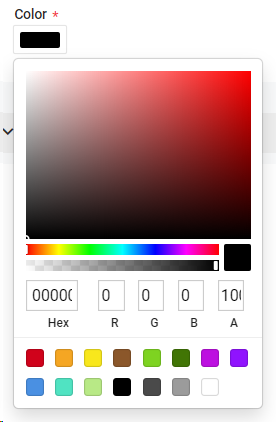
Color. Pick a color to identify the content type and all its related contents.
General information
Show in grid. Decide whether the productions of this content type should be shown in the weekly grid view.
Show title in grid. Decide whether to show the title of the productions of this content type in the weekly grid view.
Show chapter in grid. Decide whether to show the description of the productions of this content type in the weekly grid view
Has logo. Decide whether the productions of this content type will have a logo
Contact free. Decide whether the productions of this content type are not linked to acquisitions or commercial contracts.
Type. To classify the content type. There are 3 main types of content in any Broadcast organization (Filling, Advertisements, Programs)
EPG information
Show in EPG. Decide whether the productions of this content type should be added in the automatic EPG file
Event Name: Container Title. Decide whether the container title should be added in the automatic EPG file
Event Name: Content Title. Decide whether the content title of this content type should be added in the automatic EPG file
Short Description: Content Title. Decide whether the content description should be added in the automatic EPG file
Short Description: Production Title. Decide whether the production description should be added in the automatic EPG file
Description: Content Synopsis. Decide whether the content synopsis should be added in the automatic EPG file
Description: Production Synopsis. Decide whether the production synopsis should be added in the automatic EPG file
Press information
Show in press. Decide whether the productions of this content type should be included in the HTML press document.
To cancel the operation, click "Cancel". To save the changes click "Save". Upon clicking "Save" the new content type will be created in the catalog. You can manage the related permissions of the new content type from the Administration menu.
Remember you can manage the metadata fields of each entity from the Administration menu. For more information, go to Metadata
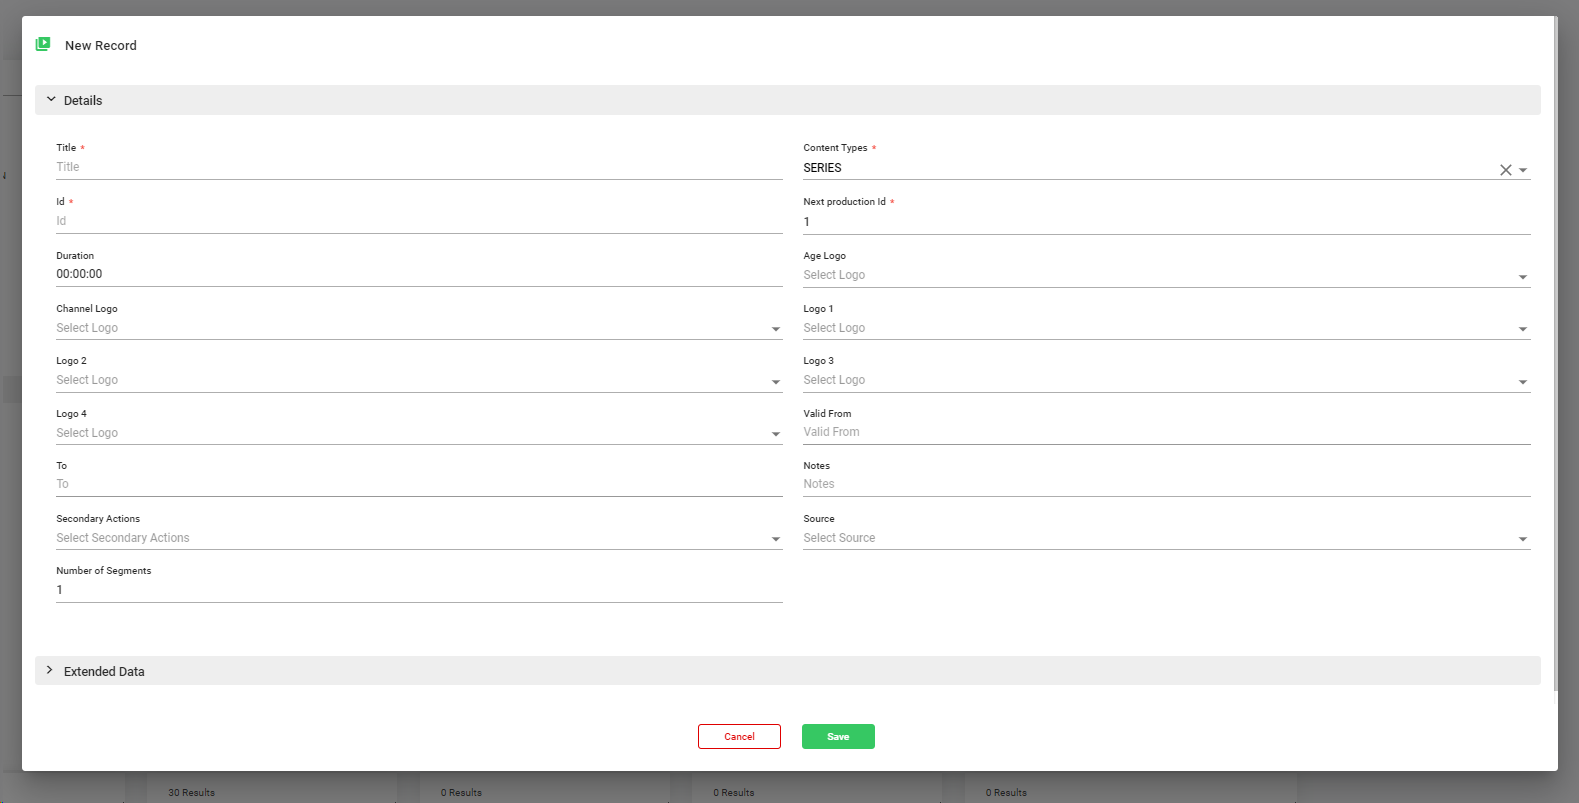
Id. Identifier of the content. The recommended length of the ID can be set in the global Configuration
Next production Id. This will define the next auto-numeric value for the productions of this content.
Duration. You can set an estimated duration for the productions of the content.
Logos. You can predefine logos to the productions of your content. These will appear automatically in the playlists. For more information go to Logos
Expiration values. You can set a "Valid From" and "Valid To" dates, when the content will be available or not.
Secondary Actions. You can set secondary actions to the productions of your content. These will appear automatically in the playlists. For more information go to Secondary Actions
Source. You can specify the default source that will be used when creating productions of the content. For more information, go to Sources
Number of Segments. You can specify the default number of segments when creating productions of the content.
To cancel the operation, click "Cancel". To save the changes click "Save". Upon clicking "Save" the new content will be created in the catalog.
Remember you can manage the metadata fields of each entity from the Administration menu. For more information, go to Metadata
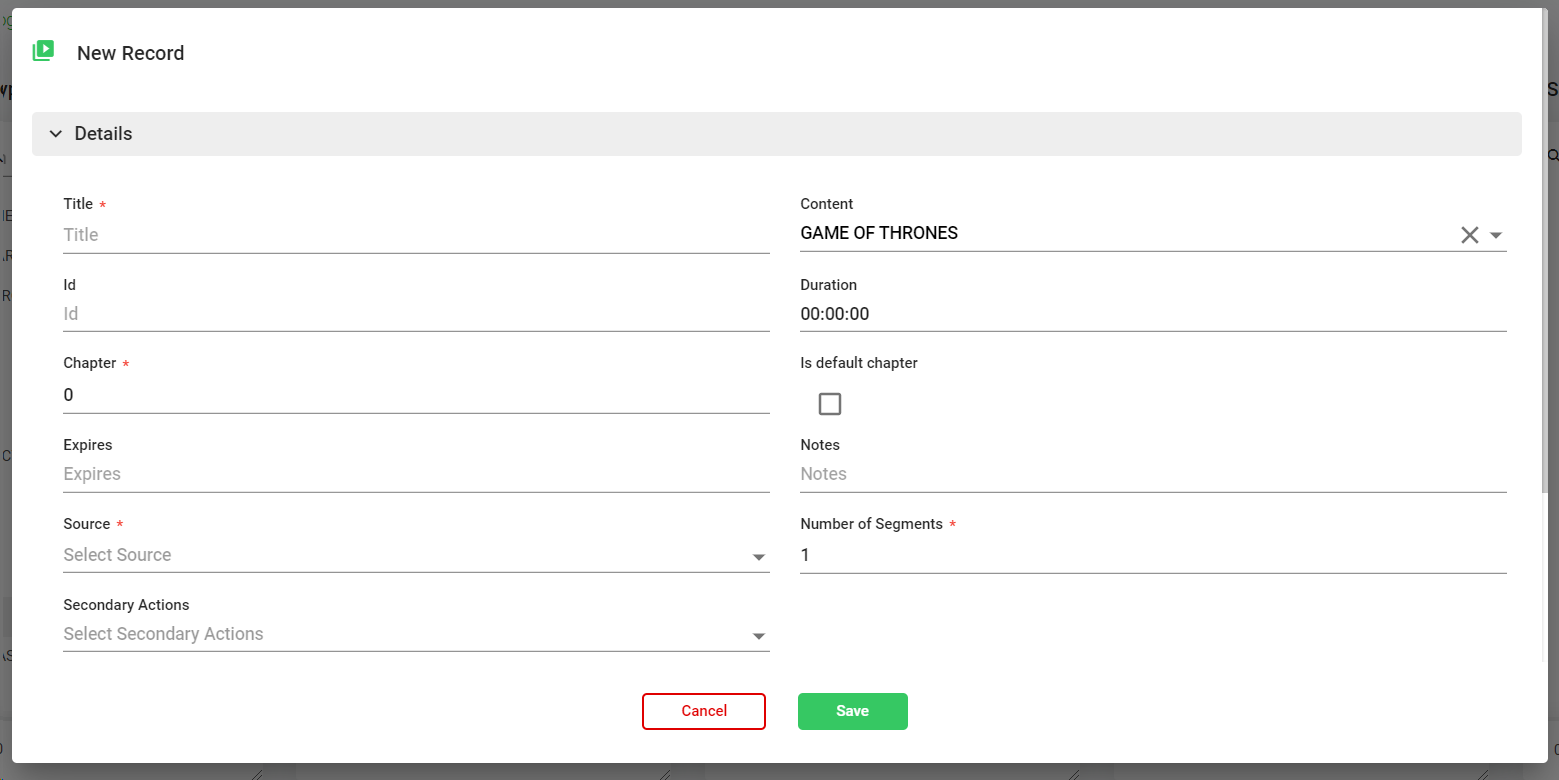
Id. Unique identifier of the production. This will depend on the selected Source.
Duration This will be inherit from the related Content.
Chapter. This can be manually or automatically inserted.
Source. You can specify the source of the media production ("Videoserver", "Live", etc.). This will define the automatic production Id. For more information, go to Sources
Number of Segments. You can specify the number of segments when creating new segmentations of the production.
Secondary Actions. You can set secondary actions to the productions of your content. These will appear automatically in the playlists. For more information go to Secondary Actions
To cancel the operation, click "Cancel". To save the changes click "Save". Upon clicking "Save" the new production will be created in the catalog.
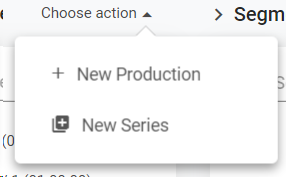
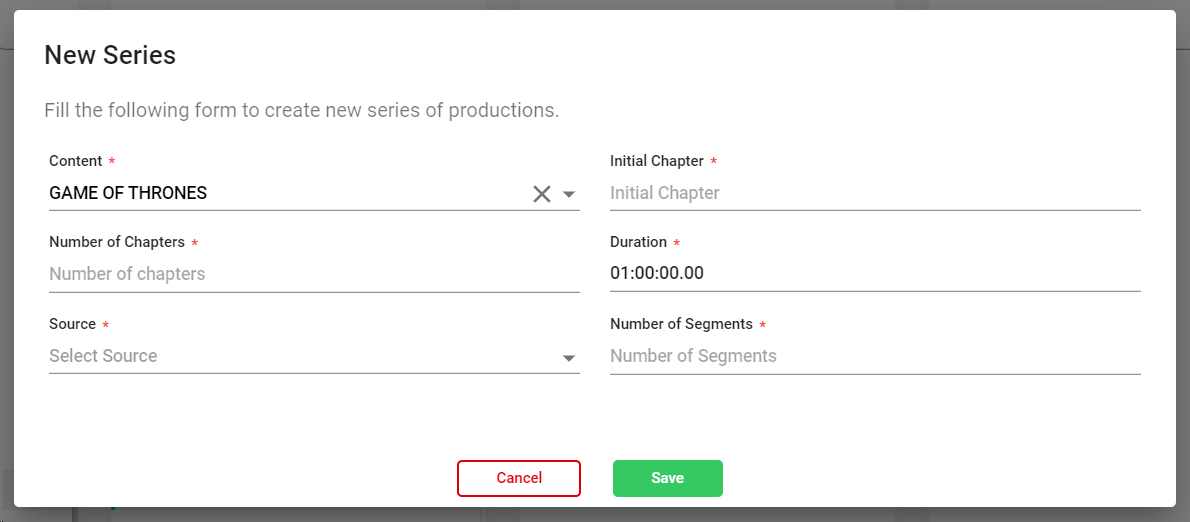
Click to create a new series of productions. This function creates several productions in one single step. This will open this form:
Initial Chapter. Numeric value that will be used to create the first production chapter.
Number of chapters. Numeric value of the number of chapters to be created.
Duration Define the duration of each chapter.
Source. You can specify the source of the media productions ("Videoserver", "Live", etc.). This will define the automatic Id of each production. For more information, go to Sources
Number of Segments. You can specify the number of segments when creating new segmentations of the productions.
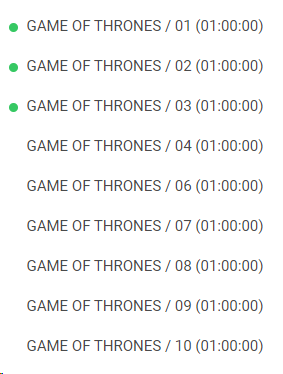
To cancel the operation, click "Cancel". To save the changes click "Save". Upon clicking "Save" the new productions will be created in the catalog with the sequential number of chapters. The episodes masively created can be edited individually at a later time in order to change the title or whatever is necessary.
Remember you can manage the metadata fields of each entity from the Administration menu. For more information, go to Metadata
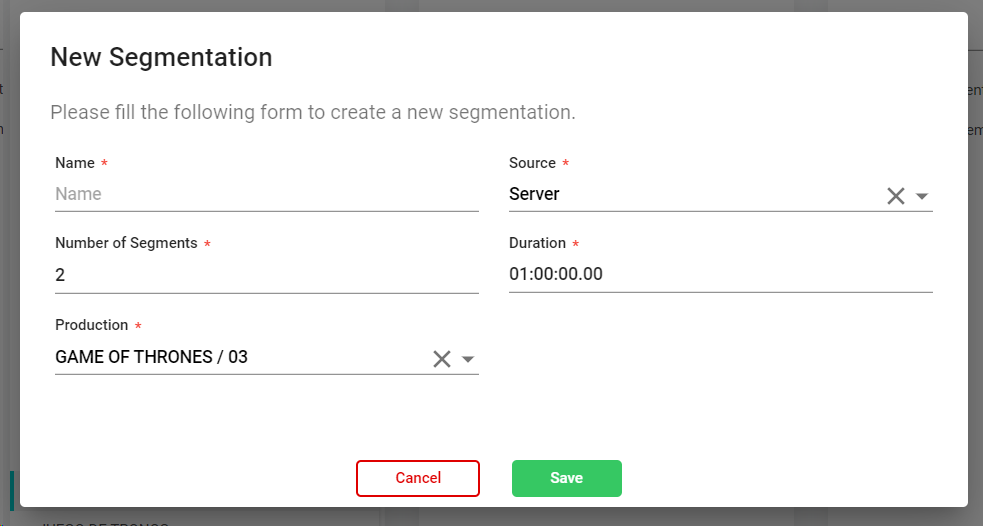
This will open the metadata form, where you must introduce (at least) the mandatory fields.
Name. Name of the segmentation.
Source. You can specify the default source that will be used when creating segments of the segmentation. This value can be inherit from the production. For more information, go to Sources
Number of Segments. You can specify the number of segments of the segmentation. This value can be inherit from the production.
Duration. You can set an estimated duration for the whole segmentation. This value can be inherit from the production
To cancel the operation, click "Cancel". To save the changes click "Save". Upon clicking "Save" the new segmentation will be created with the corresponding segments
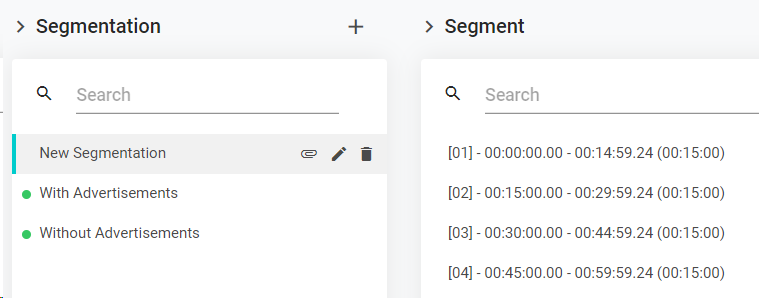
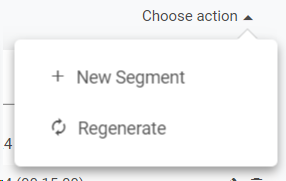
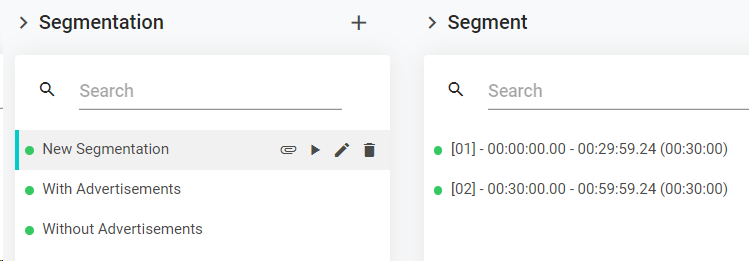
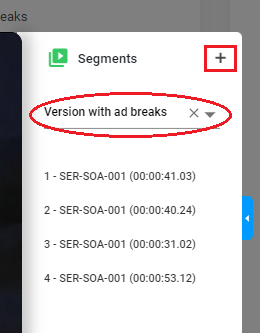
In the Segments section, click on to select one of the following options:
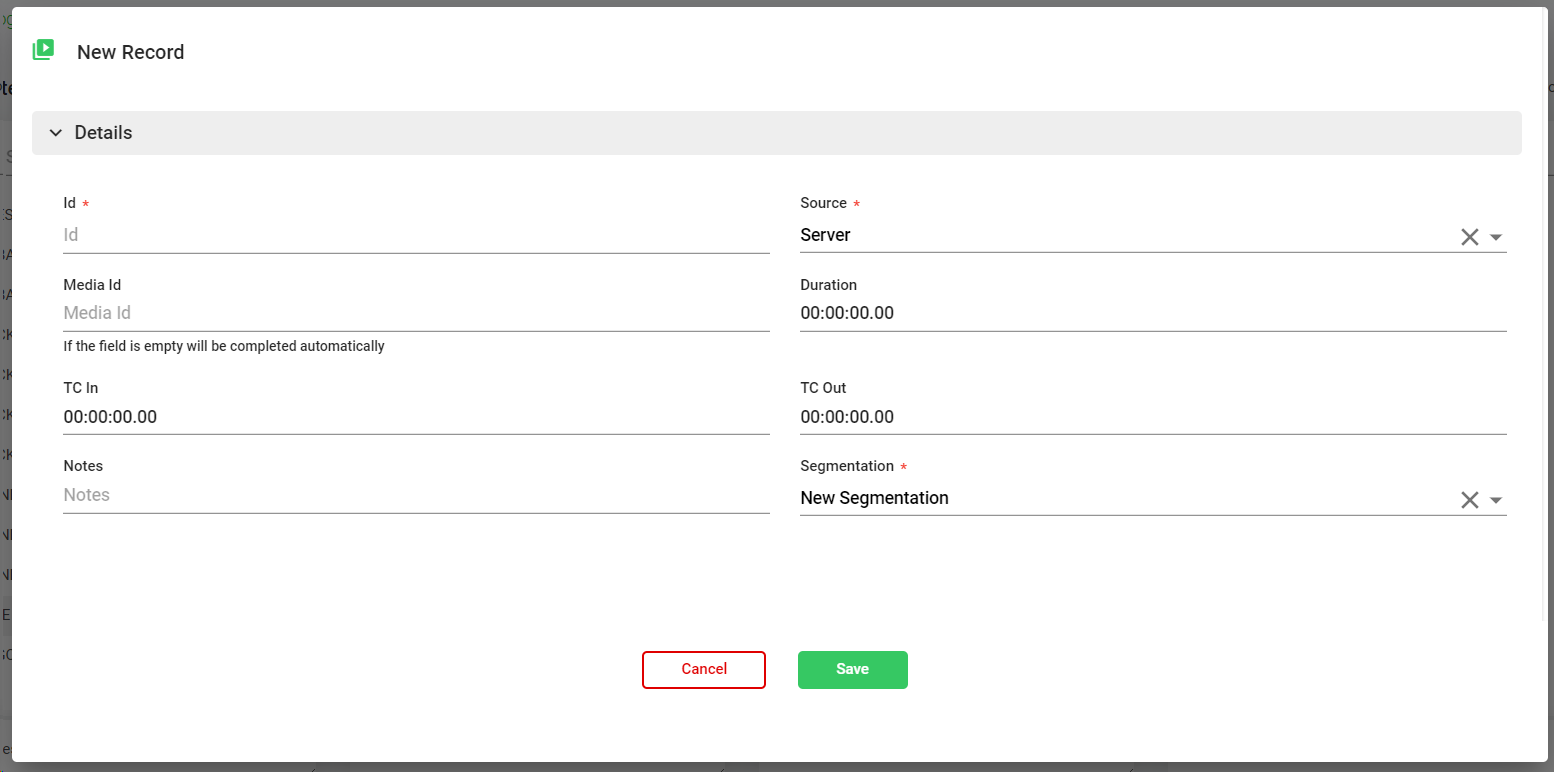
Click on to create an individual segment. This will open the metadata form, where you must introduce (at least) the mandatory fields.
Id. Numeric identifier of the segment. The recommended length of the ID can be set in the global Configuration
Source. You can specify the source of the segment ("Videoserver", "Live", etc.). This can be inherit from the segmentation. This will define the automatic production Id. For more information, go to Sources
Media Id. Id of the media segment. This will depend on the selected Source.
Duration This can be inherit from the related Segmentation.
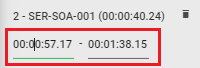
TC in /TC Out. Time codes that defines when the segment wil start and when the segment wil end (in H:M:S:F). These values could automatically be extracted from the MAM system. For more information go to Administration >> Plugins >> VSNExplorer MAM
To cancel the operation, click "Cancel". To save the changes click "Save". Upon clicking "Save" the new segment will be created in the catalog.
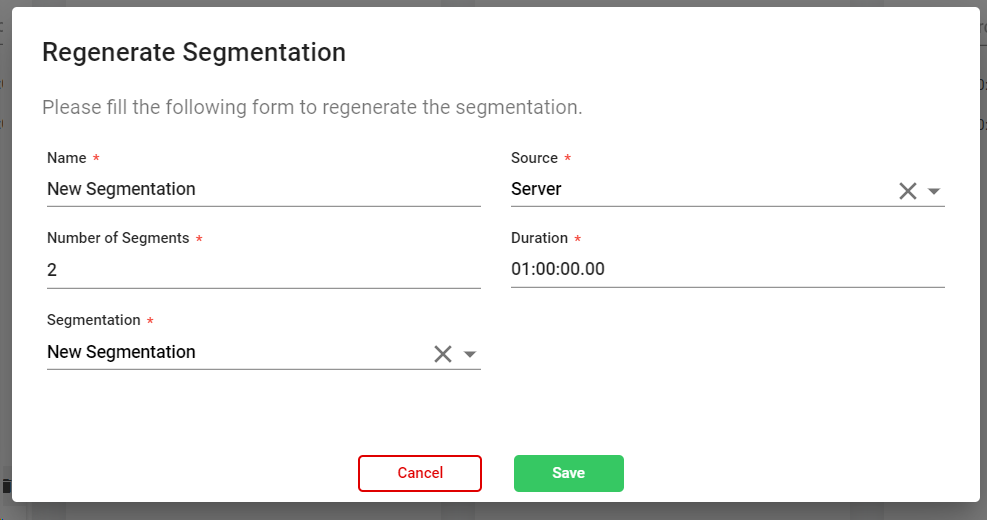
Click to regenerate the segments of the segmentation. With this option we can delete and create again a new segmentation for each selected production. We must be very careful with using this option because when we delete the segments al their information will be lost too. This option is particularly useful for changing common aspects of segmentations such as support or number of segments. This will open this form:
Name. Name of the segmentation to regenerate its segments..
Source. Source that will be used to regenerate the segments. This will define the automatic Media Id of each segment. For more information, go to Sources
Number of Segments. Specify the number of segments to be regenerated.
To cancel the operation, click "Cancel". To save the changes click "Save". Upon clicking "Save" the introduced number of segments for the segmentation will be created in the catalog
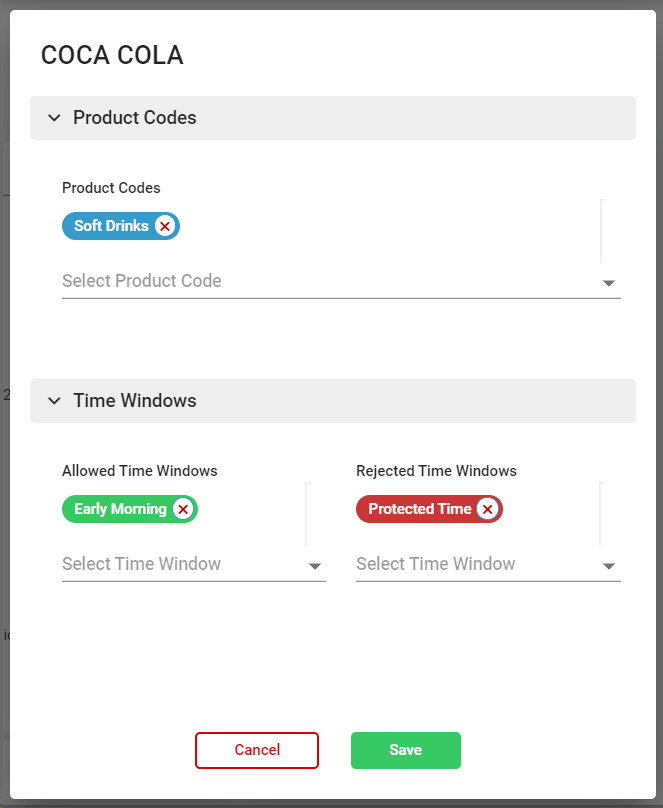
Click on over any catalog element. This will open the dialog to associate Product Codes and/or Time Windows:
Product Codes. Only available on "Advertisement" content types, will show the list of available Product Codes of your organization to associate with the selected catalog element. For more information, go to Product Codes
Time Windows. Available for any type of content. You can allow or reject specific Time Windows for the selected catalog element. For more information, go to Time Windows
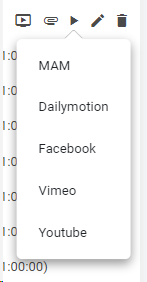
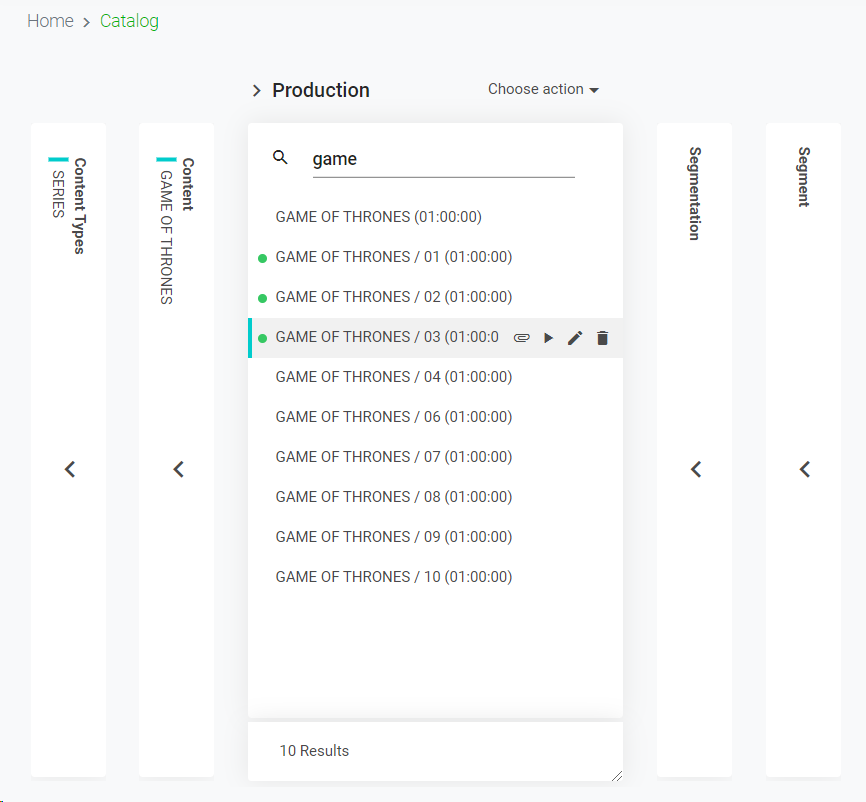
Click on to preview the media production within the catalog
If the element has its media in multiple platforms, there will appear a drop-down menu like this one:
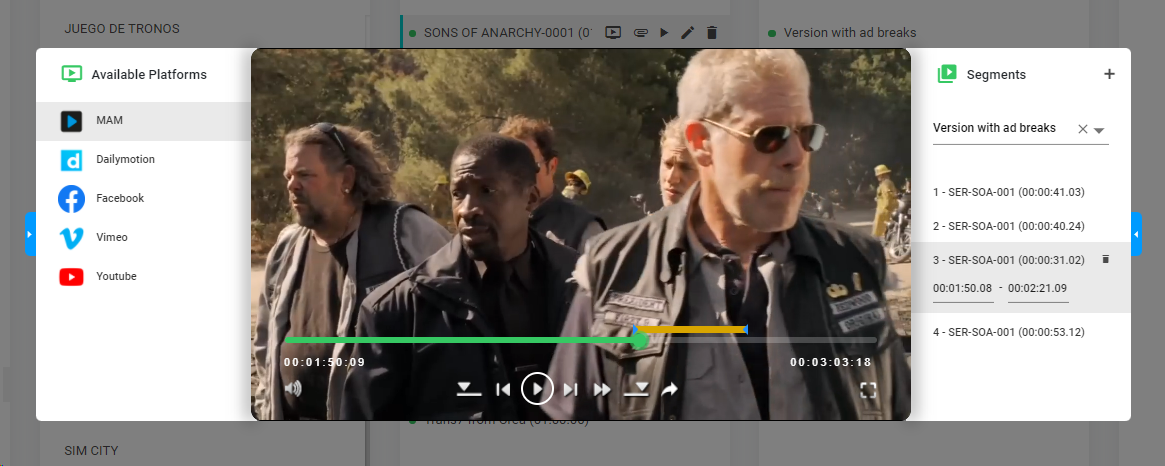
From the floating player, users will be able to view the proxy and:
Select one of the available platforms from the left panel to play its related media.
For the MAM platform, use the control buttons to play, fast forward, move 1 frame back and forward
For the MAM platform, create new segments at the selected segmentation from the right panel
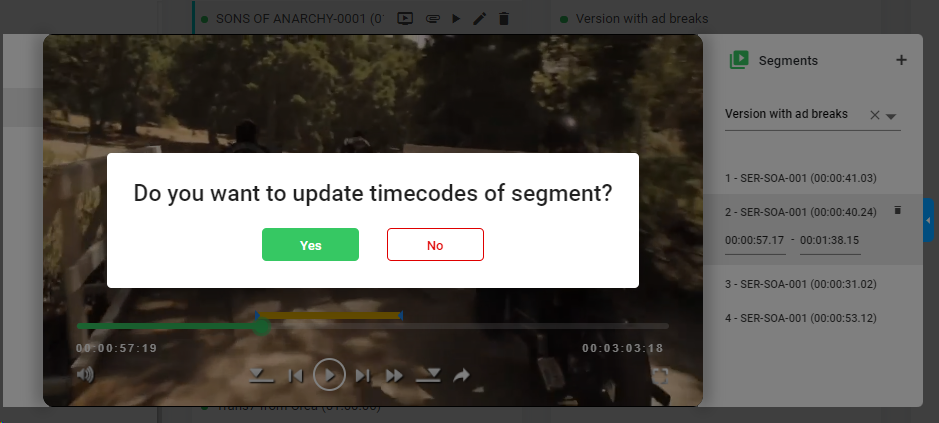
For the MAM platform, to be able to define the different parts of the media (segments) using the real duration in frames, you can select an existing segment in the right panel, and Mark Time Code In and Time Code Out , and send the selection to that previously selected segment
For the MAM player, select a segment from the right panel and modify manually the time codes
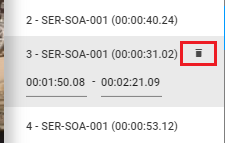
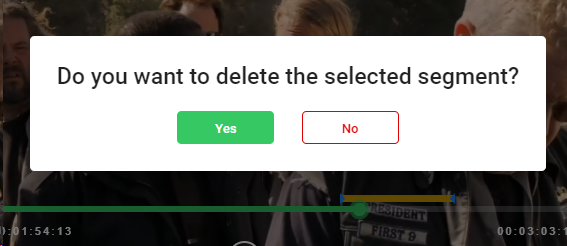
For the MAM player, select a segment from the right panel and delete it
1.From a content. When doing it from a content, you will find 2 options:
Schedule. This option is used to schedule all the productions of the content to the non-linear platforms. For more information, go to How to manage Non-linear Schedulings
Schedule Sequentially. This option is used to do an episodic programming of the content to the non-linear platforms. For more information, go to How to manage episodic Non-linear Schedulings
2. From a production. When doing it from a production, you are about to schedule the current production to the non-linear platforms. For more information, go to How to manage Non-linear Schedulings
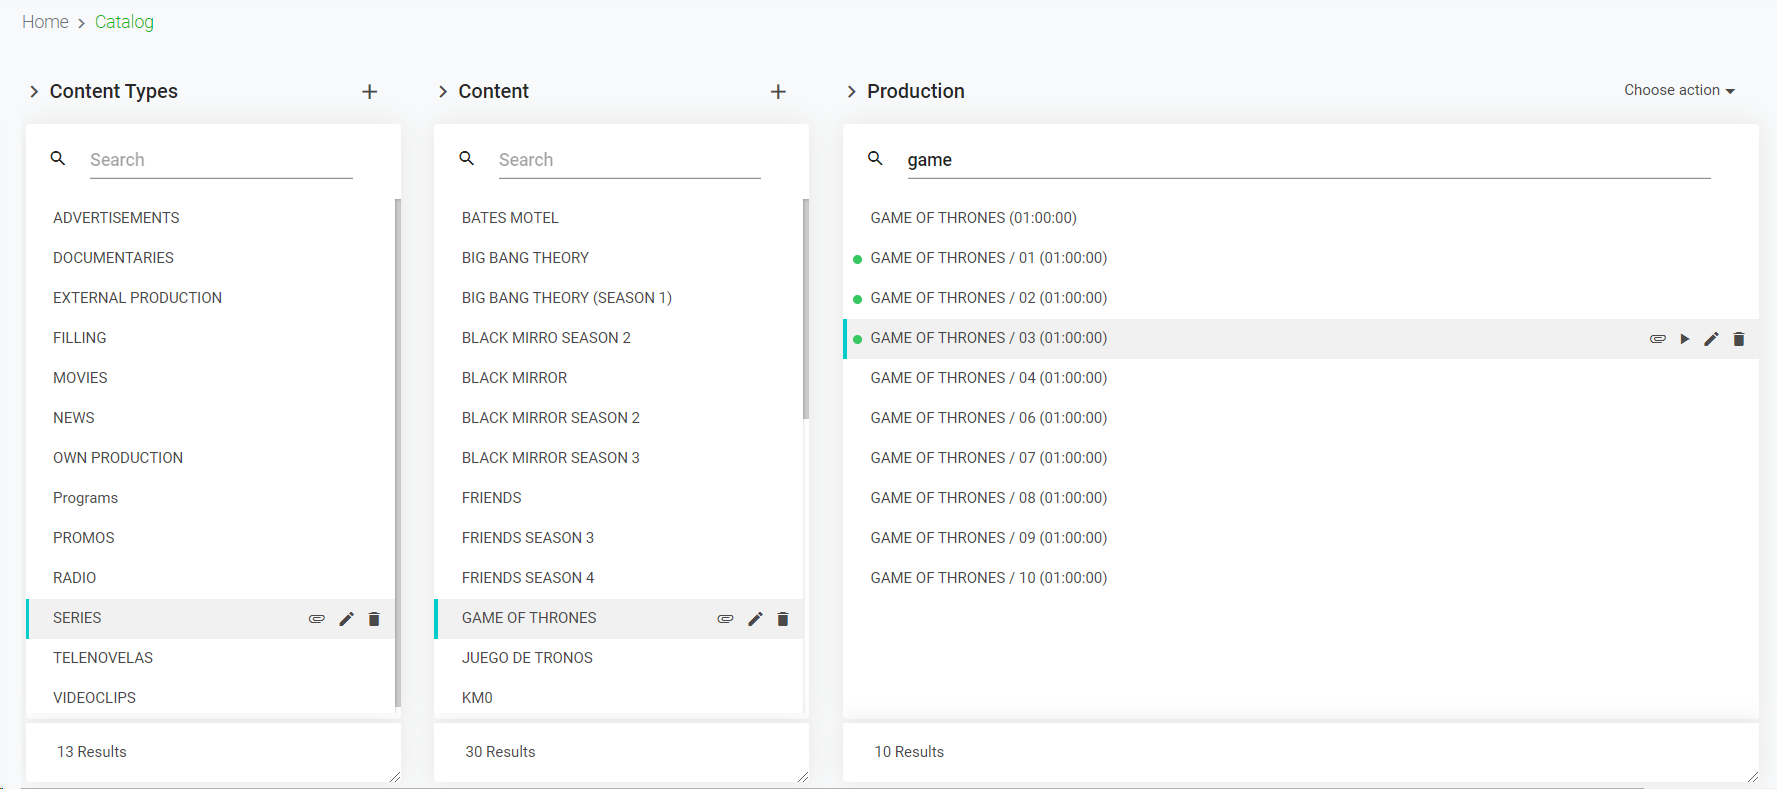
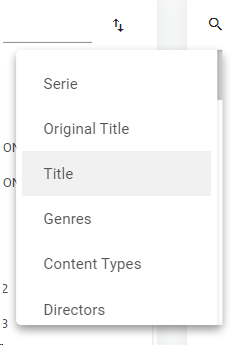
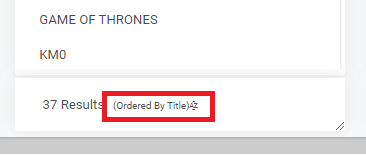
You can search individual elements of the catalog. In the search option of each one, start typing a text and click Enter. The system will show you the results matching with your query.