When creating a Service Order from the Scheduling module, you must fill all the mandatory fields and click  to start scheduling the showings:
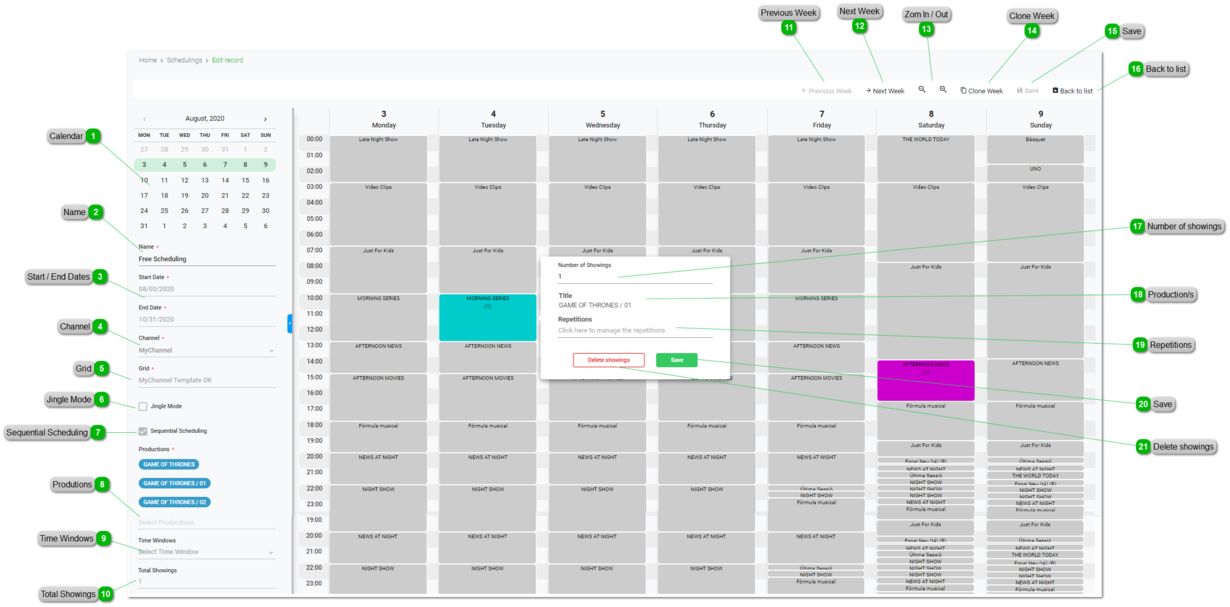
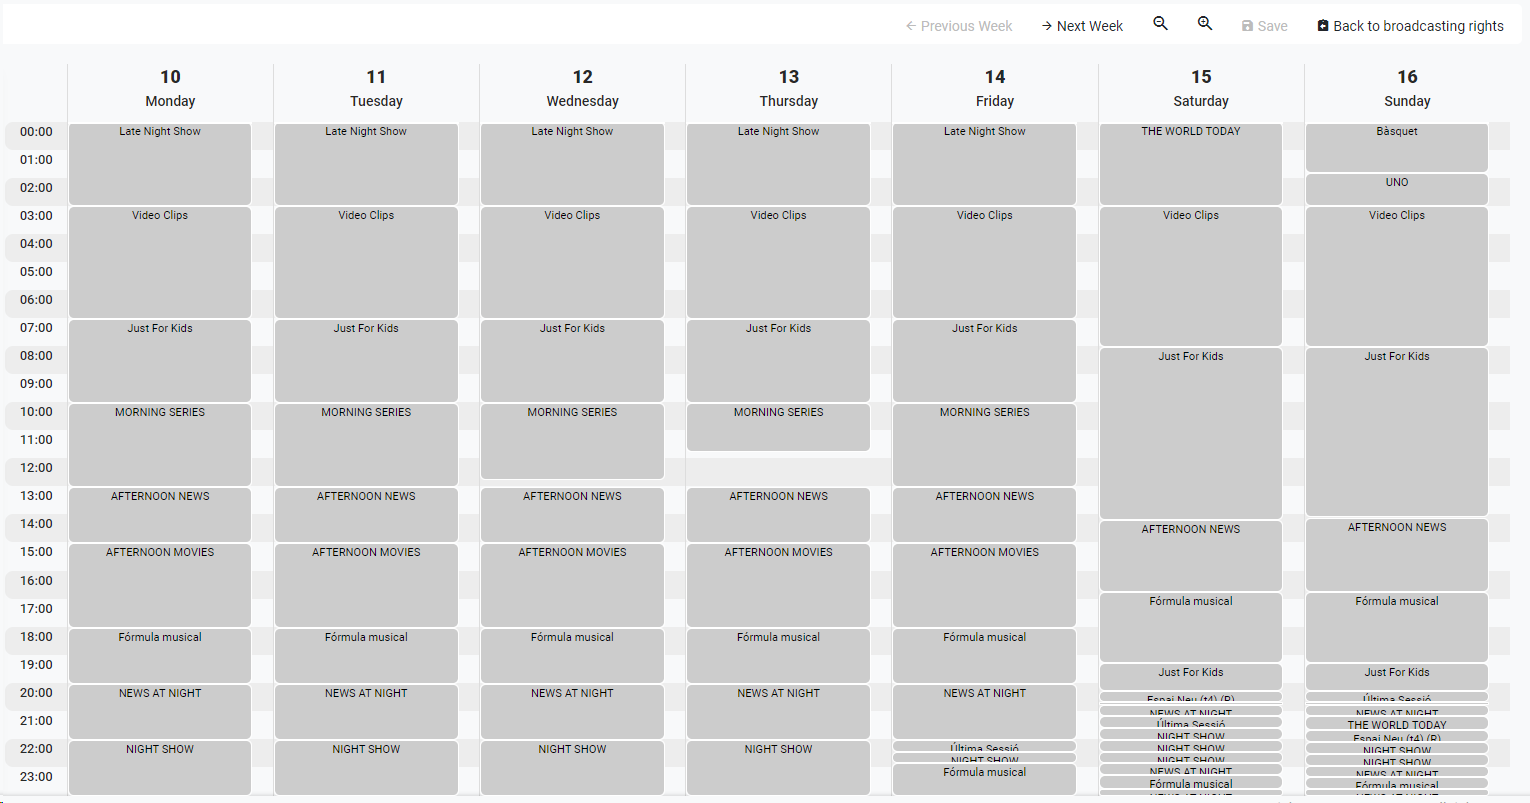
 Calendar
Use the calendar to navigate through it and select specific weeks to view their schedules
The current week will always be highlighted in green.
|
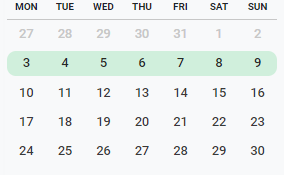
 Name
It is mandatory to introduce a name for the current Service Order.
|
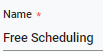
 Start / End Dates
These are the range of dates where you will be able to schedule content for the current Service Order. Upon changing these values, the calendar will be adapted to these values:
-
You cannot set a start date lower than the one specified in the related contract -
You cannot set an end date higher than the one specified in the related contract
 Once the Service Order is saved, you won't be able to change this information.
|
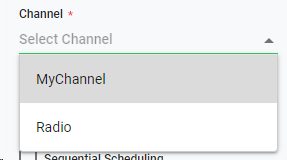
 Channel
Select a Channel.
Once the Service Order is saved, you won't be able to change this information.
|
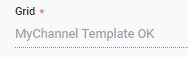
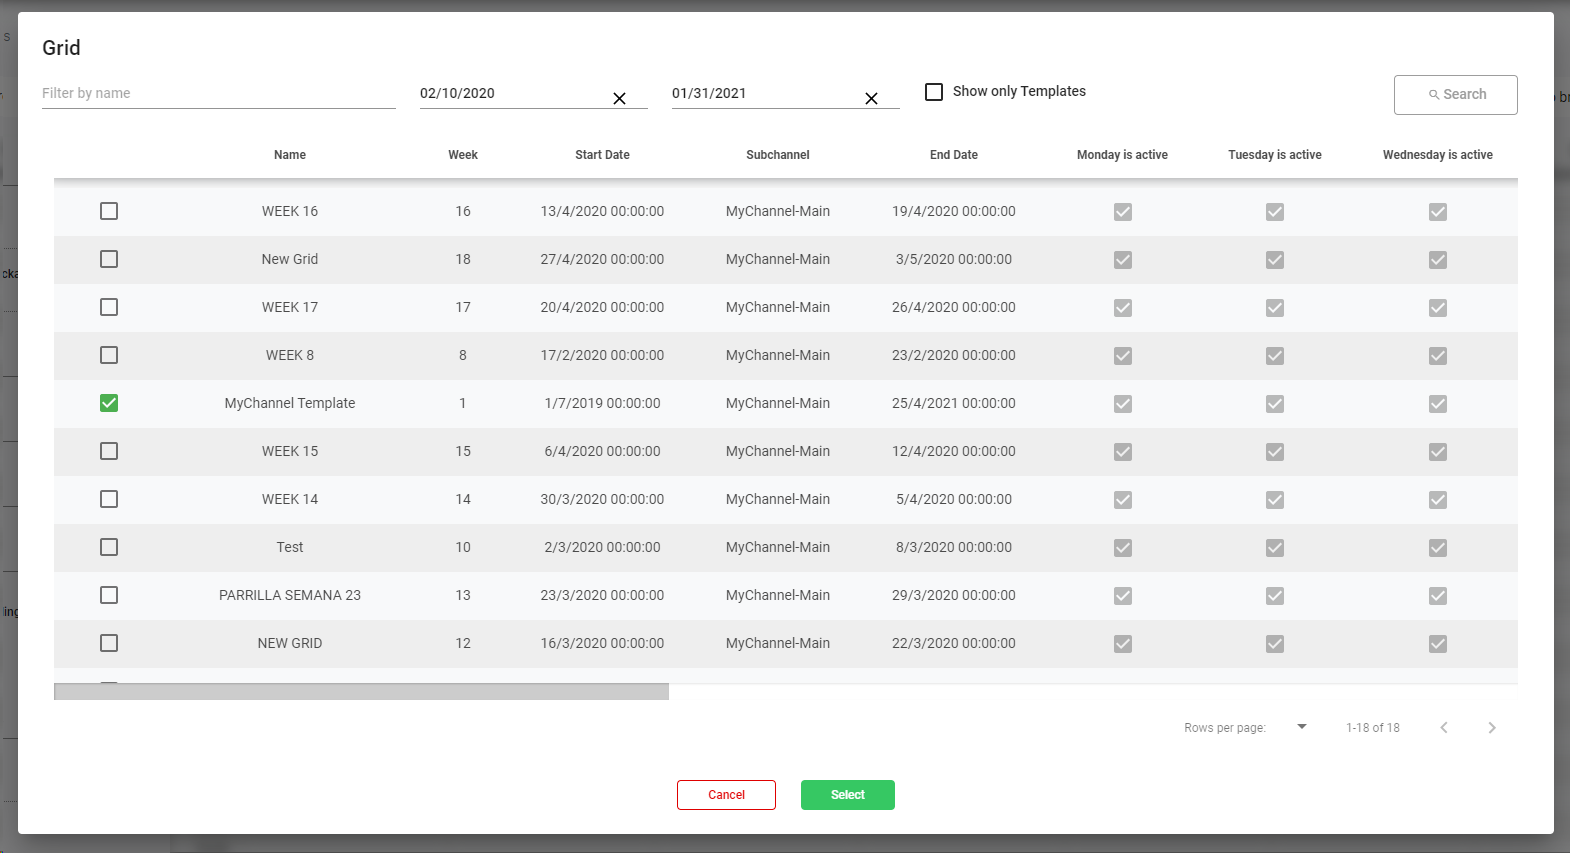
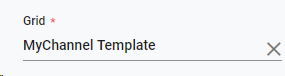
 Grid
When clicking the box you will be able to select a grid or template of a Subchannel that will be used as pattern for the scheduling.
You have to specify first a Channel to be able to select a grid.
1. Use the filters to restrict your search to name, dates, only templates, and click on  2. Select one of the grids/templates and click on 
3. The selected grid / template will appear in the left panel:
4. When you save the Service Order, the corresponding blocks will appear in the central window:
Once the Service Order is saved, you won't be able to change this information.
|
 Jingle Mode
If you are going to schedule Jingles, follow these steps:
1. Activate the "Jingle Mode" option 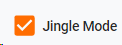
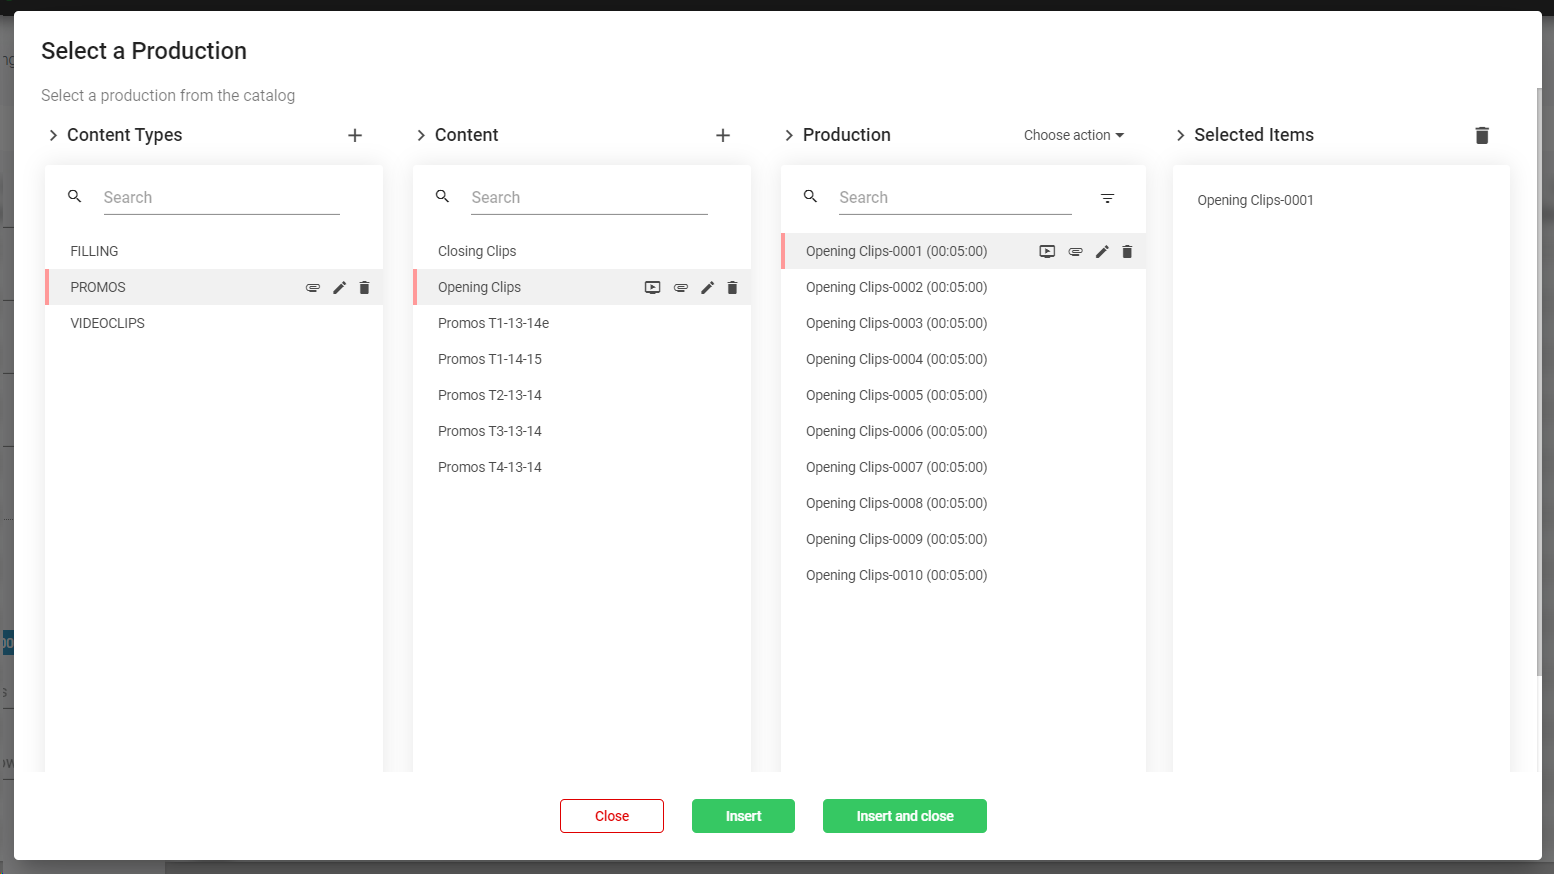
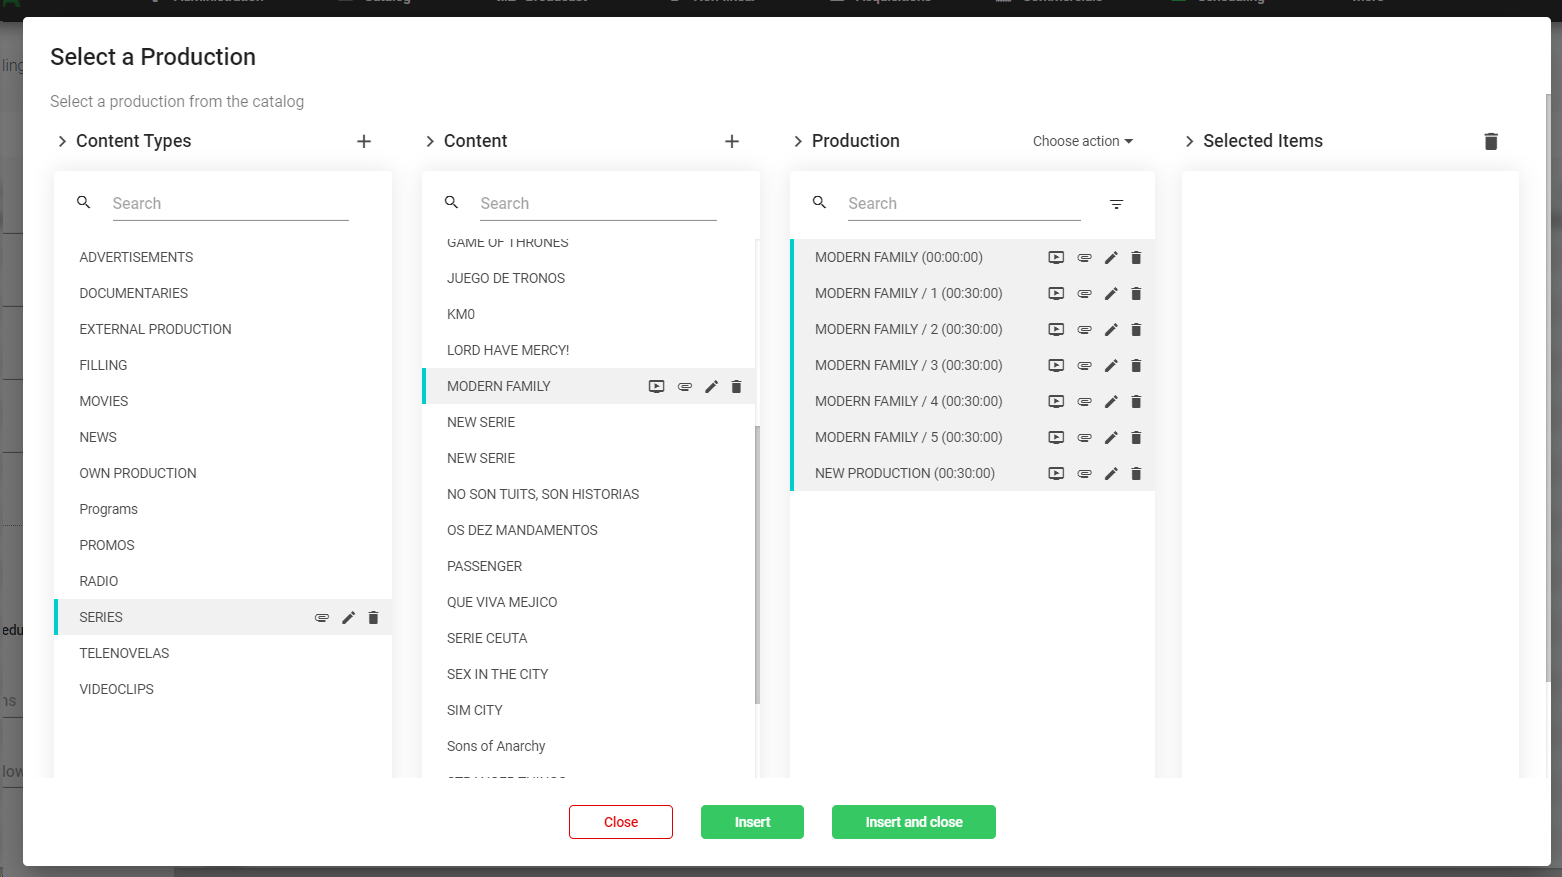
2. Select the productions from the catalog. In the dialog window, they will only appear the Content Types set as "Filling" type.
3. Click "Insert" to include the selected productions and keep selecting more, "Insert and close" to include the selected productions and close the window, or "Close" to close the window.
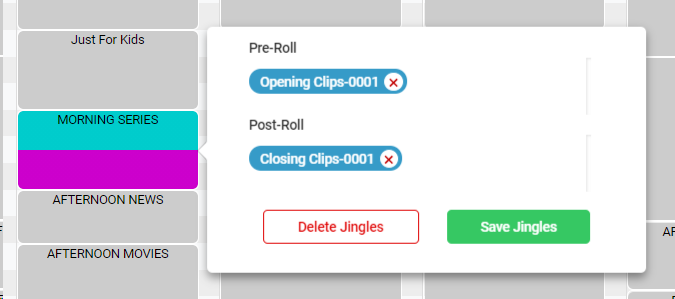
4. In the blocks, when scheduling Jingles, there will appear the option to select the productions that should be Pre-Roll or Post-Roll for that specific block and date/time. The Jingles will be linked to the specific block.
5. Click  to save the scheduling or  to remove them from the block.
Once you finish your schedule of Jingles for the service order, you will be able to import automatically the Jingles in the corresponding daily playlists. For more information, go to How to edit a playlist >> Import Jingles
|
 Sequential SchedulingSelect this option if you are going to schedule series of episodes. The Service Order will automatically assign an episode to each of the showings in a sequential way, based on the Chapter of the selected productions from the catalog.
|
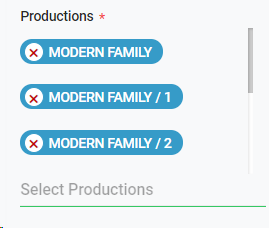
 Produtions
1. Click to select productios from the catalog to be included in the service order.
2. Click "Insert" to include the selected productions and keep selecting more, "Insert and close" to include the selected productions and close the window, or "Close" to close the window.
3. The related production/s will appear in the left panel:
Once the Service Order is saved, you won't be able to change this information.
|
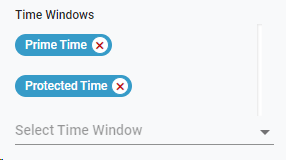
 Time Windows
The Time Windows are used to restrict the schedule to specific intervals of time.
You can optionally select specific Time Windows that will be used to schedule content in the current Service Order.
Once the Service Order is saved, you won't be able to change this information.
|
 Total Showings
As soon as we are scheduling showings in the current Service Order, this value will automatically indicate the number of scheduled showings
|
 Previous Week
Click to navigate through the scheduling of the previous weeks
|
 Next Week
Click to navigate through the scheduling of the next weeks
|
 Zom In / Out
Use these buttons to zoom the grid in or out in intervals of 15 minutes, respectively.
|
 Clone Week
Click on this button to clone the current week scheduling to the rest of available weeks of the Service Order
Upon clicking  the system will replicate the scheduling to all the available weeks.
|
 SaveOnce you inserted all the mandatory fields of the Service Order, click  to enable the grid and to start scheduling, and to apply all the changes of the Service Order.
|
 Back to list
Click to come back to the Schedulings list. Make sure that you have saved all your changes.
|
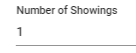
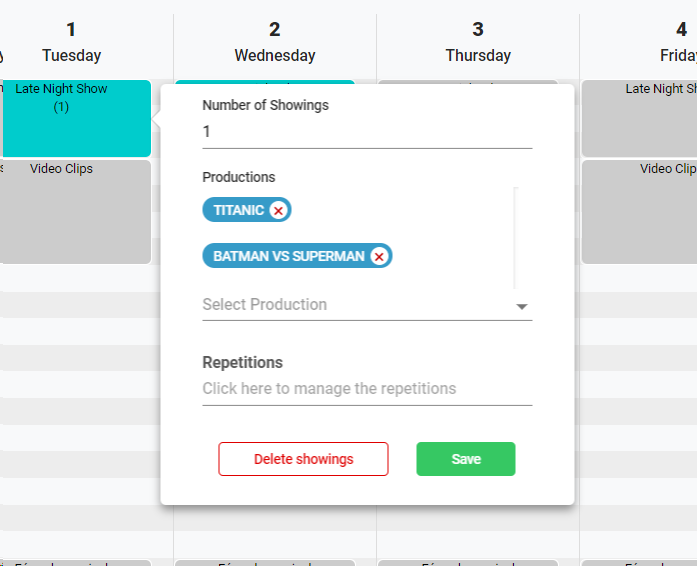
 Number of showingsUpon clicking on a block of the grid, introduce the number of showings to schedule for that specific day and time.
Once a block has scheduled showings this will be colored in blue (with the number of showings):
The "Total Showings" of the current Service Order will be updated.
|
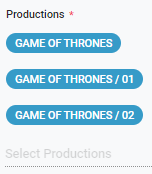
 Production/s
Indicates the production/s already scheduled in that specific block.
-
In Sequential Scheduling you won't be able to add productions as it works using automatic assignment. -
In Non Sequential Scheduling you will be able to add more productions in the specific block:
-
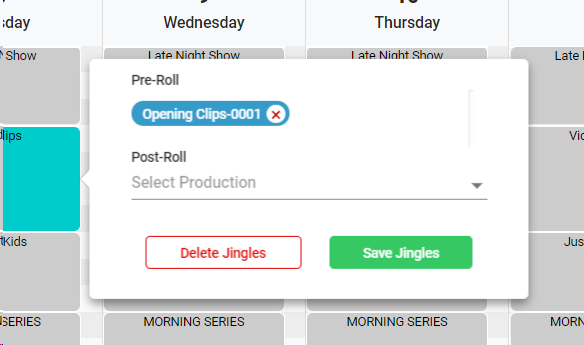
In JIngle Mode, you will be able to add productions as Pre-Roll and/or Post-Roll to each block:
|
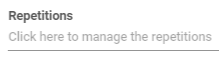
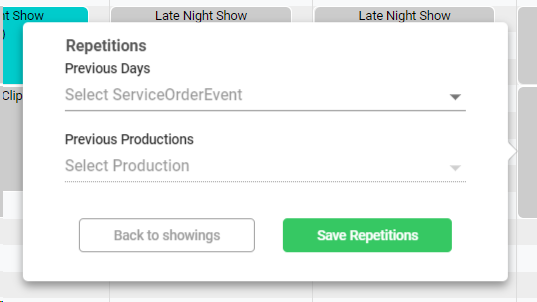
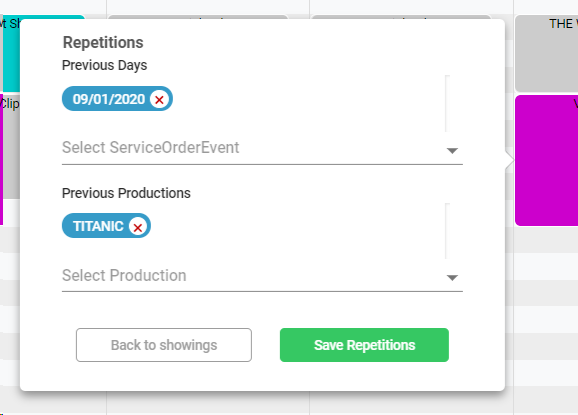
 Repetitions Only if Jingle Mode is not activated.
1. Click to set repetitions to a previous scheduled content.
2. Select the Previous Day you want to repeat, and previous production:
3. Click on "Save Repetitions". The selected block with repetitions will be colored in purple
|
 Save
Click to save the showings for the specific block.
|
 Delete showings
Click to delete the current showings for the specific block.
|
The online help was made with Dr.Explain
|