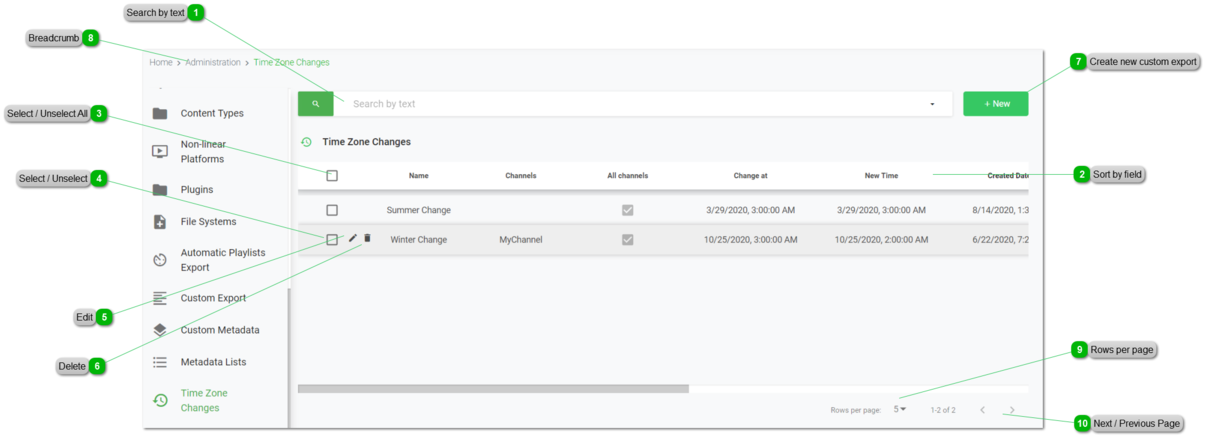
From the Time Zone Changes menu, the system administrator can specify the different time changes depending on the country or zone, so that VSNCrea can adjust these changes automatically to avoid conflicts, specially in playlists, when the time changes.
Search by text
Start typing a text and click Enter. The system will show you the results matching with your query
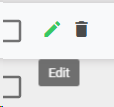
This will open the existing element, with all the specific information
To cancel the editing, click on "Cancel". To save the changes and keep in the edit form, click "Save". To save and go back to the list, click "Save & Go Back"
Click on this button to create a new Time Zone Change.
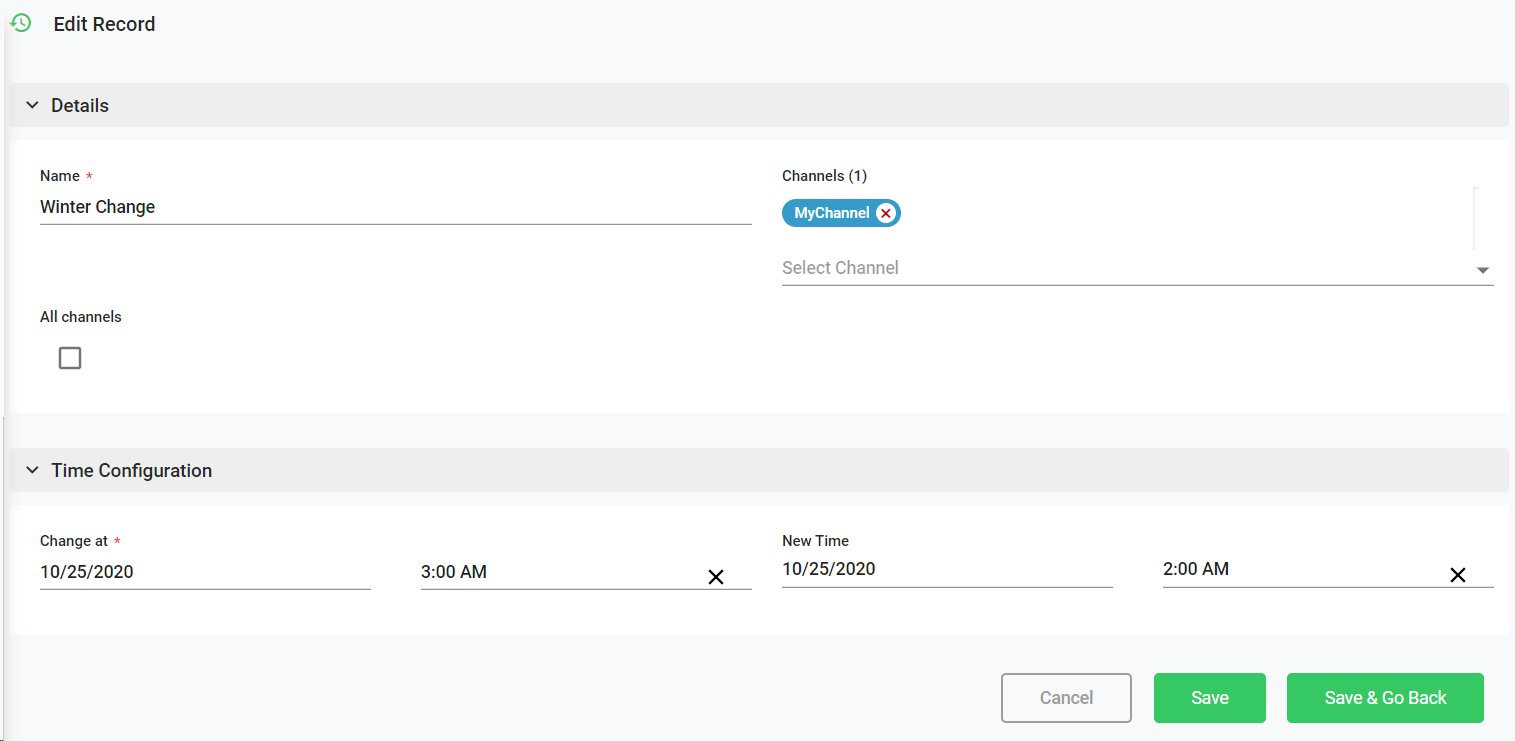
1. First of all, introduce this information:
Name. Name of the Time Zone change to be identified (Winter, Summer, ...)
Channels. Select the available channel/s in which the time change will be applied. Optionally, you can check "All channels".
2. Specify the Time configuration:
Change At. Select the date from the calendar and the exact time from the clock, indicating the moment of the change.
New Time. Select the date from the calendar and the exact time from the clock, indicating the new time.
For example:
3. To cancel the operation, click "Cancel". To save the changes and keep in the creation form, click "Save". To save the changes and go back to the previous list, click "Save & Go Back".
Now the system will automatically adjust the playlists of the channels at the specific date/time.


 to delete the selected users, or
  to cancel the operation.

 to go to the previous page or