The Acquisitions module controls all the purchased media. Once content has been acquired, after a simple process, the acquired contents will be available so that they can be scheduled, always taking into account the broadcasting rights that have been stipulated and agreed upon at the time of purchase.
When we access the Acquisitions module we can start managing our purchase orders. In this module you can find, create and manage acquisitions contracts. The following sections explain how to access, create and modify your acquisition contracts, and schedule efficiently your showings and repetitions based on many predefined broadcast rights (for example, a whole season with many episodes every Monday at a certain block, or individual movies).
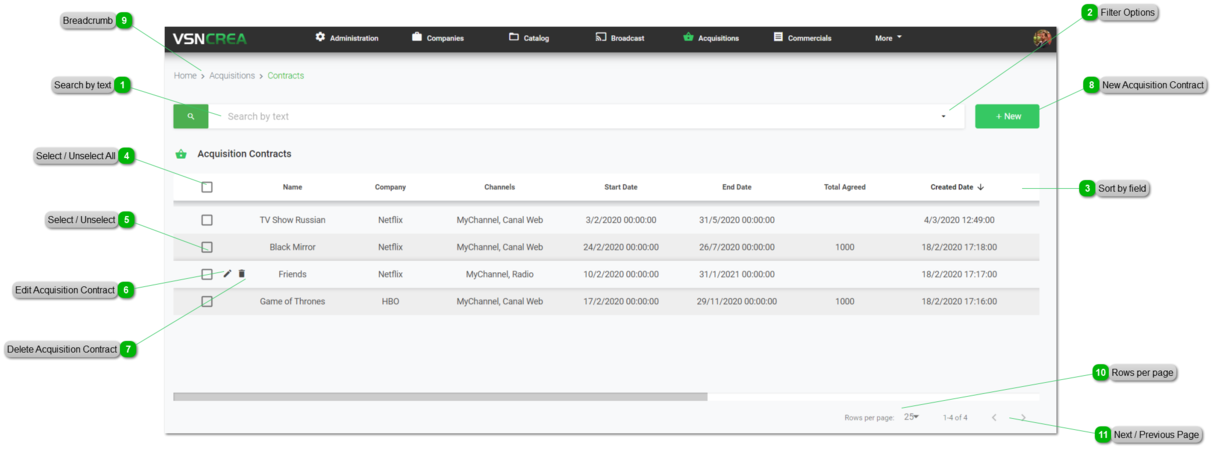
To access to the Acquisitions, just click on  in the top main menu.
 Search by text
Start typing a text and click Enter. The system will show you the results matching with your query
|
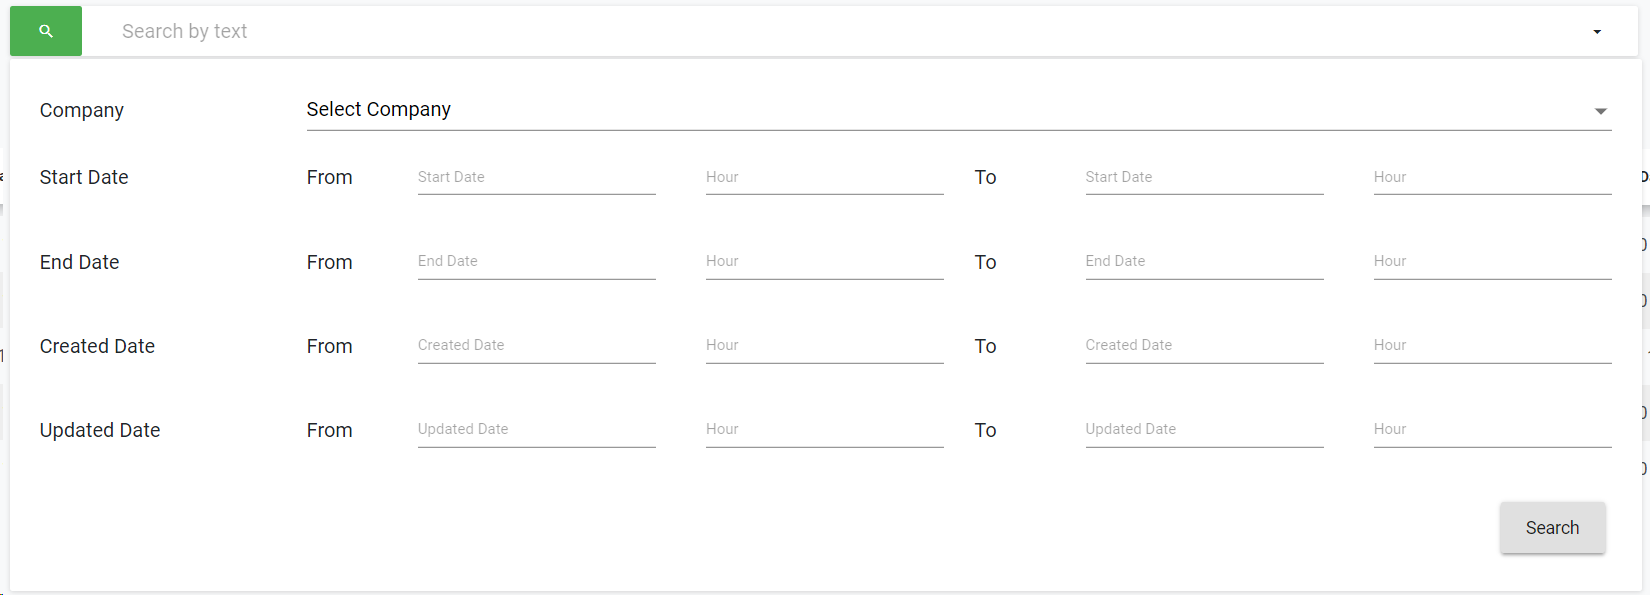
 Filter Options
Click the drop down menu to display the filtering options. You can filter acquisitions contracts by company, start and end contract date. Select your filters and click on the "Search" button.
Click  to clear the value and remove the filter.
 For more information about Companies, go to Companies
|
 Sort by fieldYou can click on any of the available fields in the columns, to order the results, ascending  or descending 
Each user can also change the position of each column just using drag & drop.
|
 Select / Unselect All
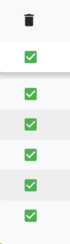
Click on this checkbox to select or unselect all the elements of the list. When selected, the trash icon to delete all will be enabled.
|
 Select / Unselect
To select or unselect individual elements, click each checkbox. When some element is selected, the trash icon to delete them will be enabled.
|
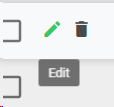
 Edit Acquisition Contract
To edit an existing acquisition contract:
-
Mouse over on the element and click the  icon;
-
or just one click on the selected row.
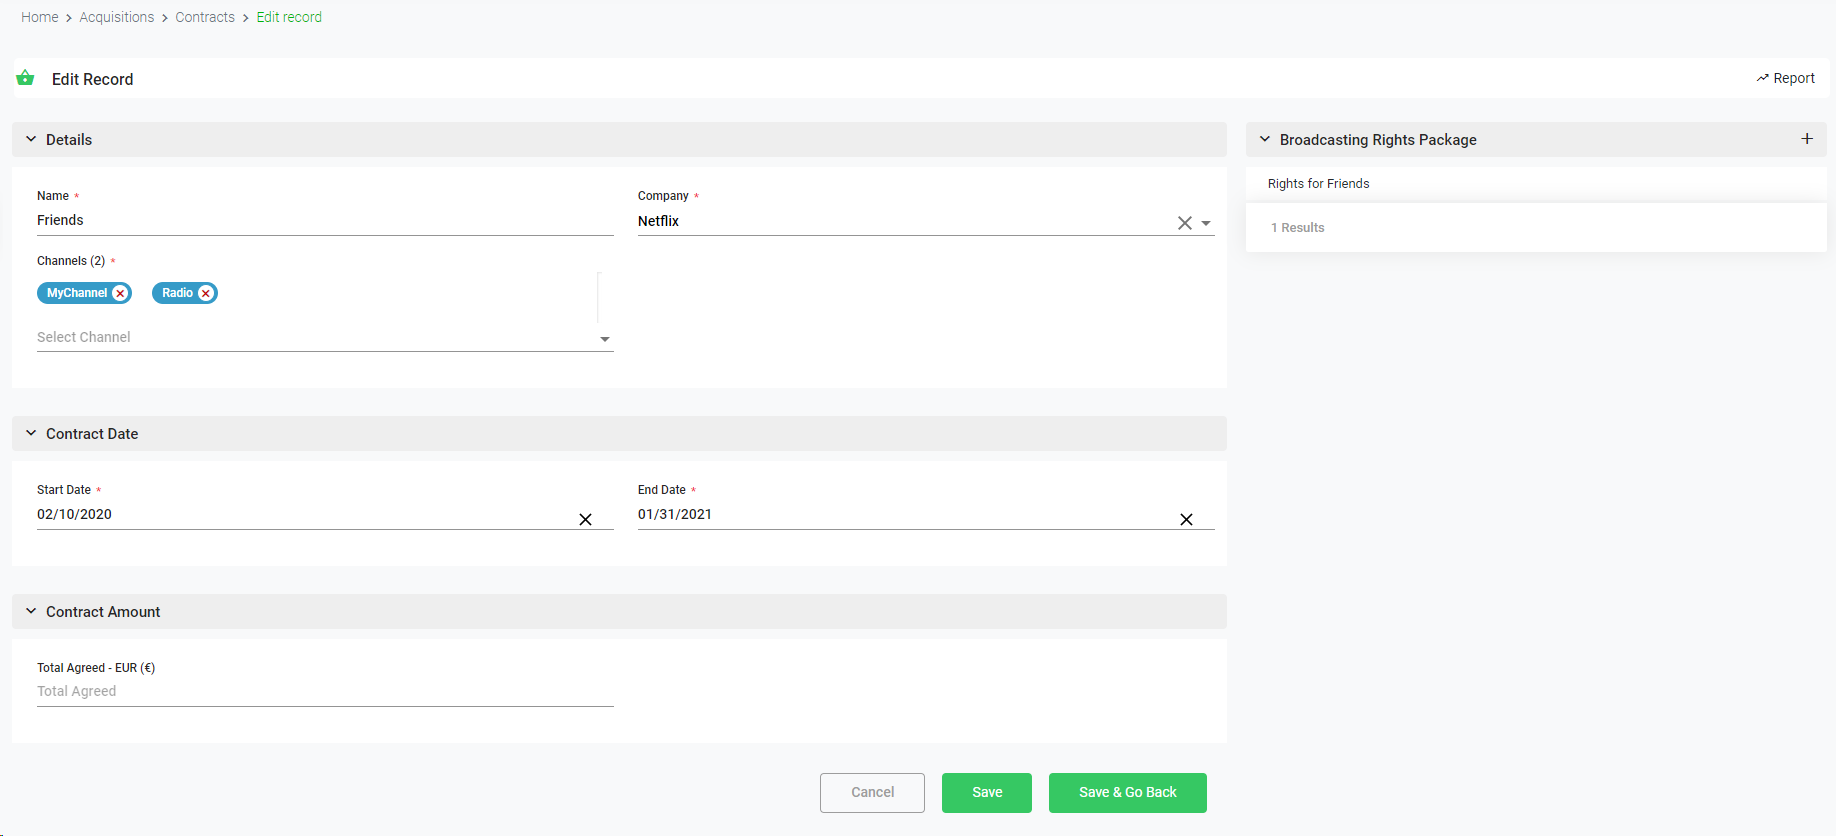
This will open the metadata form, to edit all the available metadata fields:
To cancel the edit, click "Cancel". To save the changes and keep in the edit form, click "Save". To save the changes and go back to the previous list, click "Save & Go Back".
|
 Delete Acquisition Contract
To delete an acquisition contract:
-
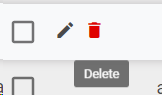
Mouse over the element, and click on the  icon
-
Select or multi-select them using the checkboxes and click on the top trash icon 
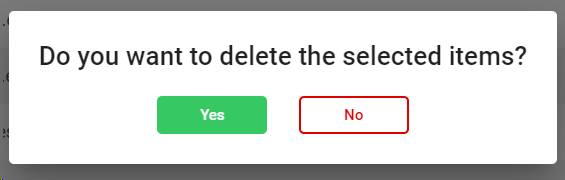
This action will show the following dialog:
Click  to delete the selected users, or  to cancel the operation.
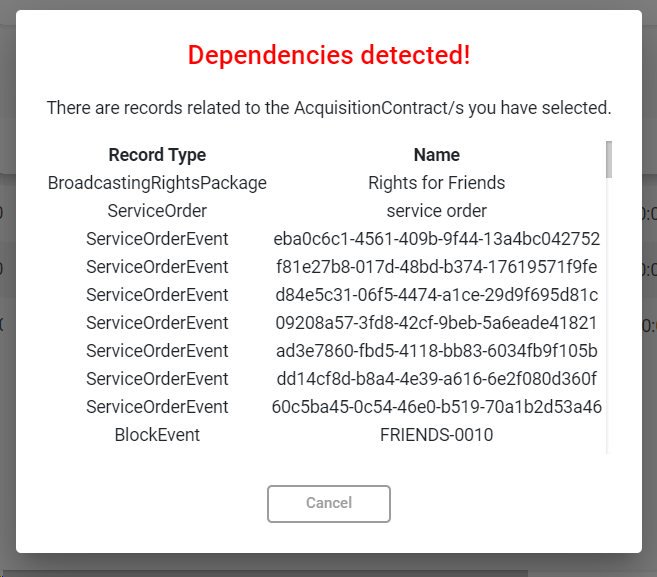
 If the element you want to delete has dependences , it won't be deleted and the system will show you a list of existing dependences
|
 New Acquisition Contract
Click on this button to create a new acquisition contract.
This will open the metadata form, where you must introduce (at least) the mandatory fields.
-
Name. Name of the acquisition contract.
-
Company. Associate a company to your acquisition contract. This could be, for instance, a content provider. For more information, go to Companies
-
Channel/s. Select the channel or channels for which the contract refers
-
Contract Start Date. Pick a date from the calendar to indicate when the contract should start.
-
Contract End Date. Pick a date from the calendar to indicate when the contract should finish.
To cancel the operation, click "Cancel". To save the changes and keep in the creation form, click "Save". To save the changes and go back to the previous list, click "Save & Go Back".
|
 Breadcrumb
It shows the current page's location within a hierarchy of content to browse history and to provide the navigation tool.
|
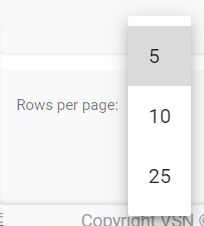
 Rows per pageClick on the drop down item to select the numbers of rows per page between the available options:
|
 Next / Previous PageClick  to go to the previous page or  to go to the next page
|
The online help was made with Dr.Explain
|