The Scheduling module allows users to do a long-term scheduling in a free way, for content that is not related to any acquisition or commercial contract.
To access to the free Scheuding, just click on  in the main menu.
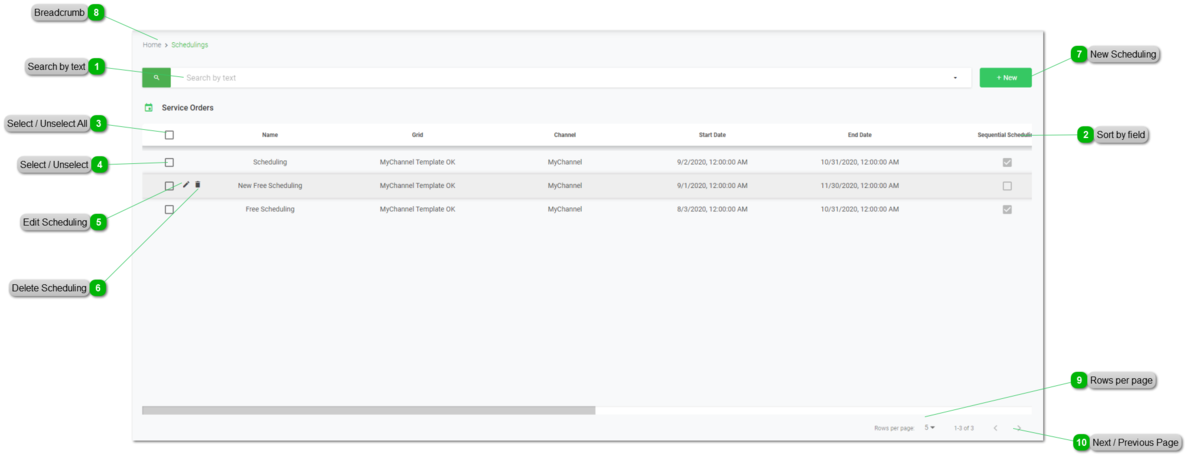
 Search by text
Start typing a text and click Enter. The system will show you the results matching with your query
|
 Sort by fieldYou can click on any of the available fields in the columns, to order the results, ascending  or descending 
Each user can also change the position of each column just using drag & drop.
|
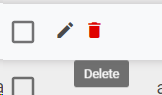
 Select / Unselect All
Click on this checkbox to select or unselect all the elements of the list. When selected, the trash icon to delete all will be enabled.
|
 Select / Unselect
To select or unselect individual elements, click each checkbox. When some element is selected, the trash icon to delete them will be enabled.
|
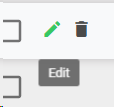
 Edit Scheduling
To edit an existing scheduling:
-
Mouse over on the element and click the  icon;
-
or just one click on the selected row.
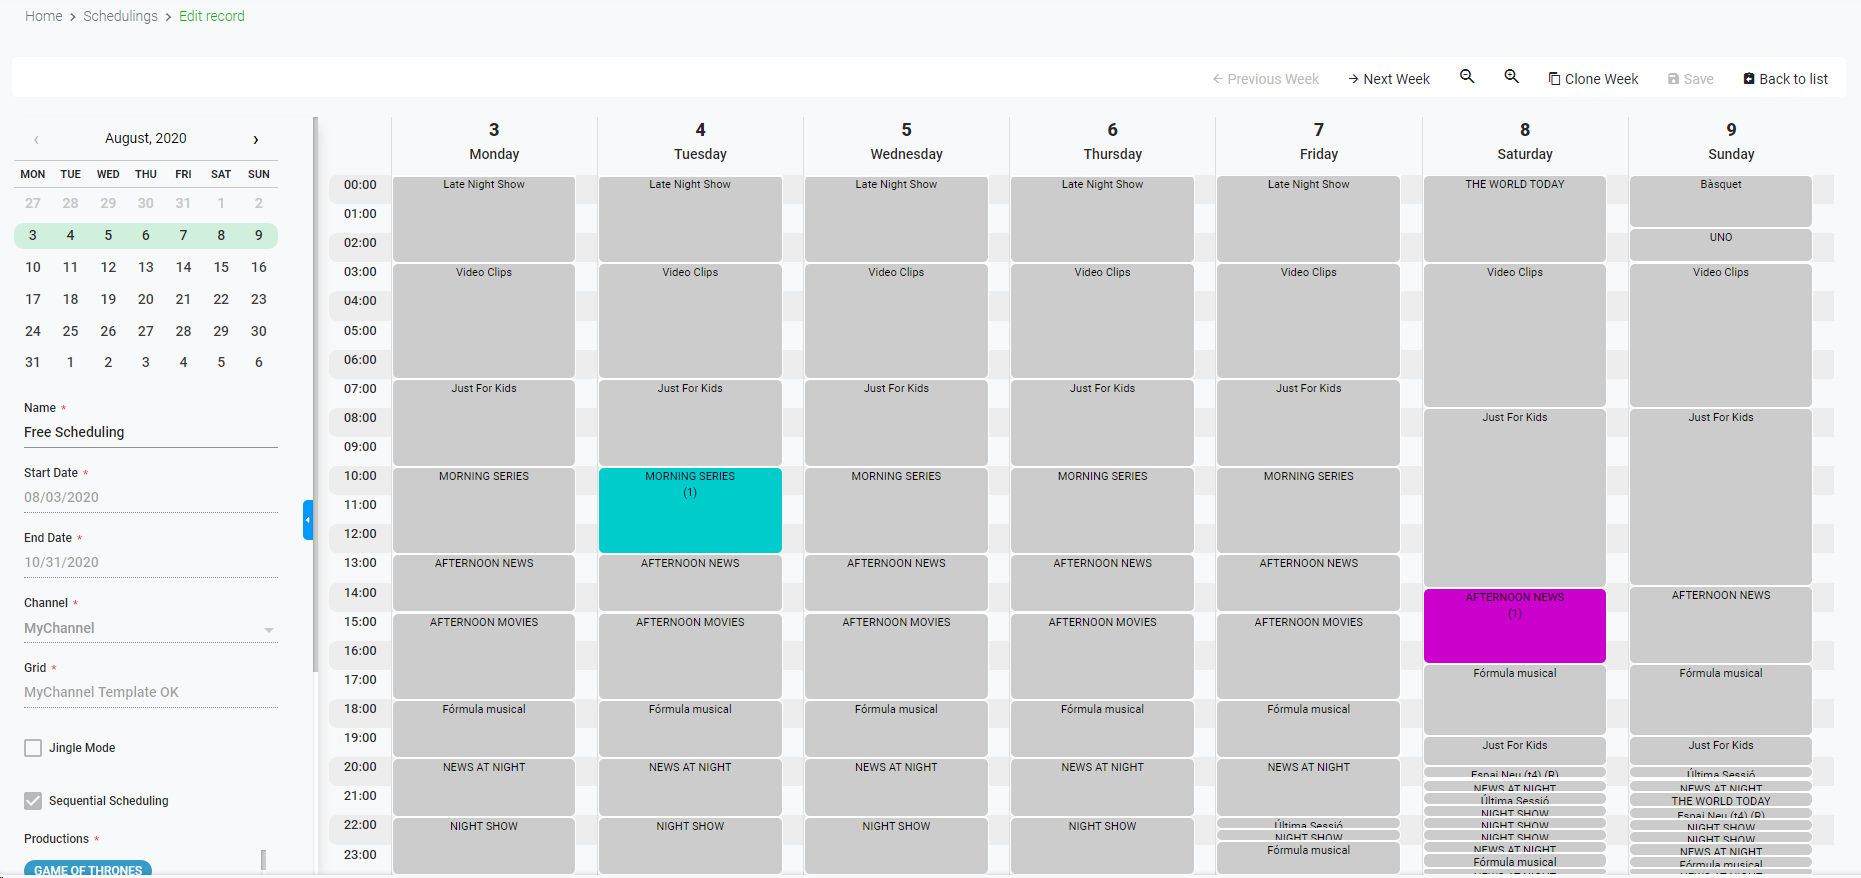
This will open the service order of the scheduling:
|
 Delete Scheduling
To delete an existing Scheduling:
-
Mouse over the element, and click on the  icon
-
Select or multi-select them using the checkboxes and click on the top trash icon 
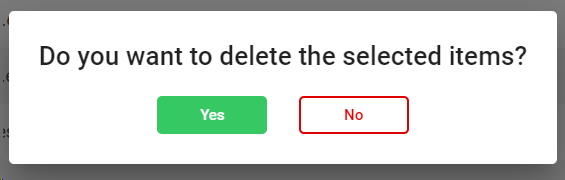
This action will show the following dialog:
Click  to delete the selected users, or  to cancel the operation.
|
 New Scheduling
Click on this button to create a new scheduling.
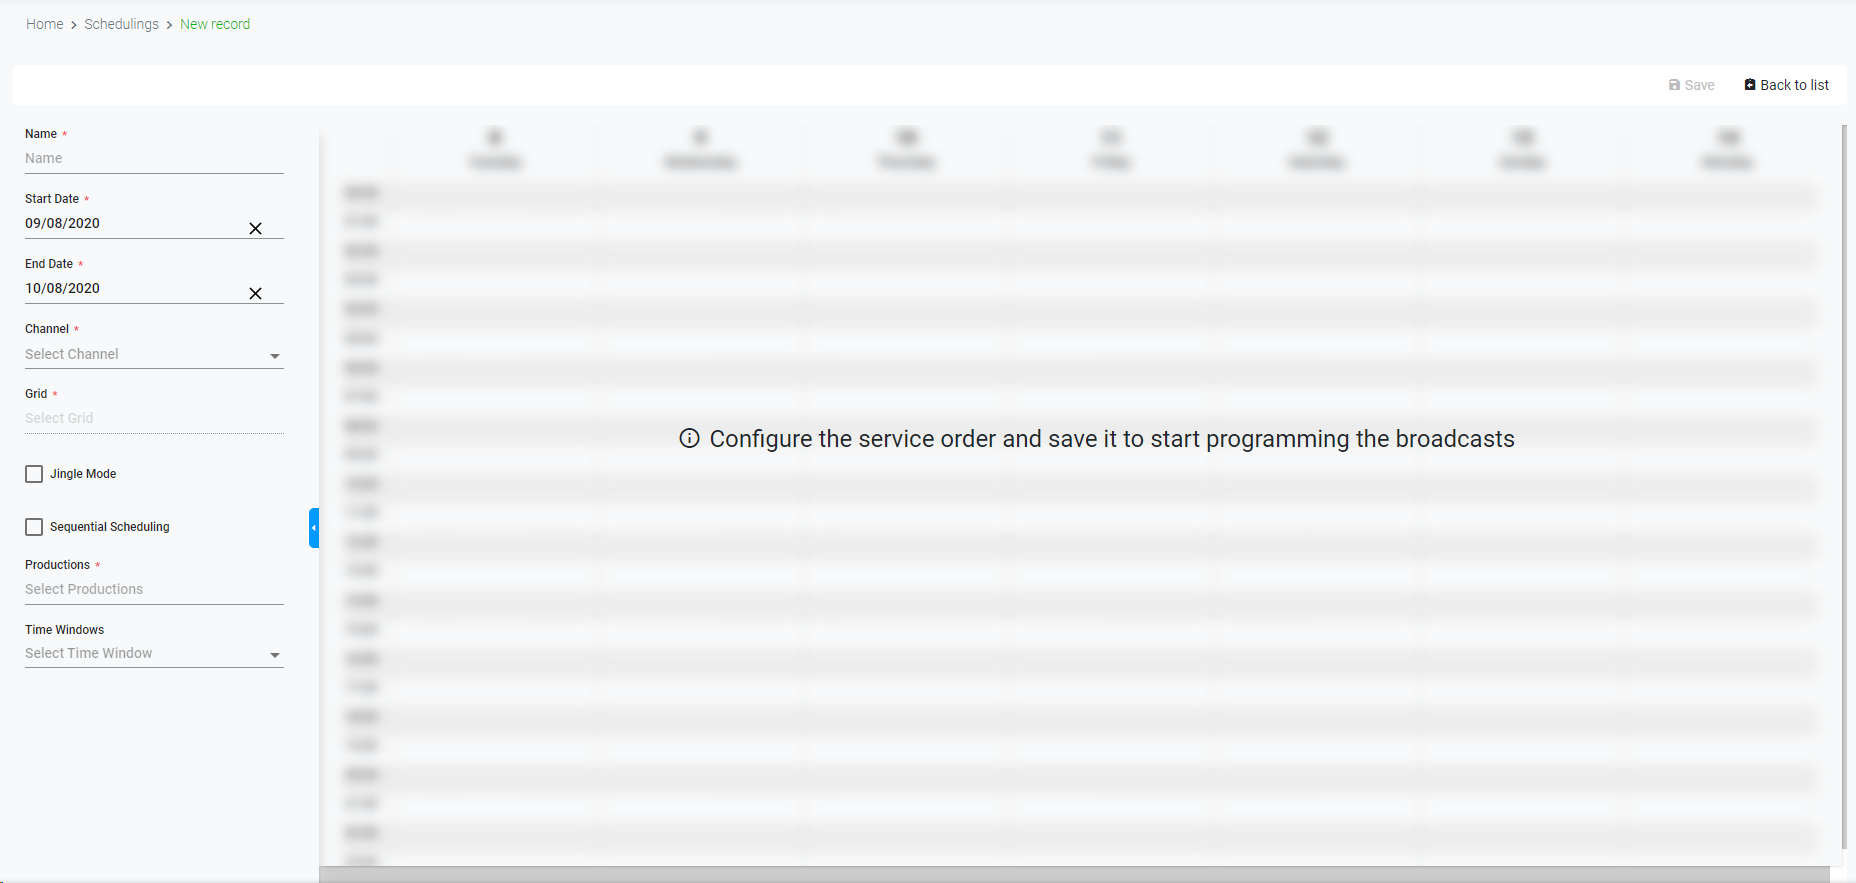
This will open the Service Order window:
-
Name. Name of the Service Order / Scheduling
-
Start Date. Pick a date from the calendar to indicate when the scheduling should start.
-
End Date. Pick a date from the calendar to indicate when the scheduling should end.
-
Channel. Select the channel.
-
Grid. Select a grid or template that will be used as base for the scheduling content in its blocks.
-
Jingle Mode. Check this box to schedule Jingles
-
Sequential Scheduling. Only if Jingle Mode is not selected, check this box to do a sequential scheduling of series.
-
Productions. Pick the productions from the catalog that you want to schedule.
-
Time Windows. Select the time window/s if you want to limit the scheduling to some specific day hours.
To cancel the operation, click "Back to list". To save the changes and keep in the creation form, click "Save".
|
 Breadcrumb
It shows the current page's location within a hierarchy of content to browse history and to provide the navigation tool.
|
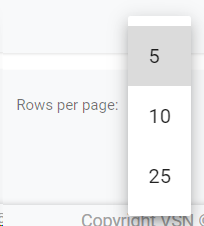
 Rows per pageClick on the drop down item to select the numbers of rows per page between the available options:
|
 Next / Previous PageClick  to go to the previous page or  to go to the next page
|
The online help was made with Dr.Explain
|