How to manage the Graphics catalog
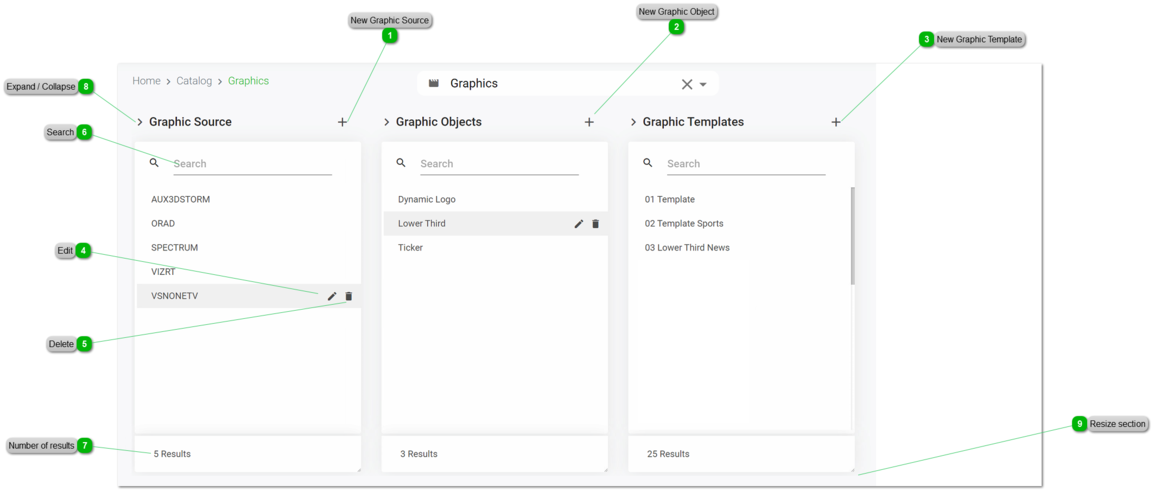
From the Graphics Catalog interface, users will be able to search, edit, manage and create new graphic elements to be scheduled and linked to main events of the final playlists.
 New Graphic Source
Click on  to Add a new Graphic Source
This will open the metadata form, where you must introduce (at least) the mandatory fields.
-
Name. Name of the Graphic Source (i.e., the Character Generator)
-
Channel. Select the channel of the graphic source
To cancel the operation, click "Cancel". To save the changes click "Save". Upon clicking "Save" the new content type will be created in the catalog. You can manage the related permissions of the new content type from the Administration menu.
|
 New Graphic Object
Click on to Add a new Graphic Object
This will open the metadata form, where you must introduce (at least) the mandatory fields.
-
Name. Introduce the name of the graphic source.
-
Code. Introduce the internal code of the graphic object. This value should be the same that appears in the corresponding CG in the Master Control Room.
-
Graphic Source. Select the graphic source of the object you are creating. For more information, go to Graphic Sources
To cancel the operation, click "Cancel". To save the changes click "Save". Upon clicking "Save" the new content will be created in the catalog.
|
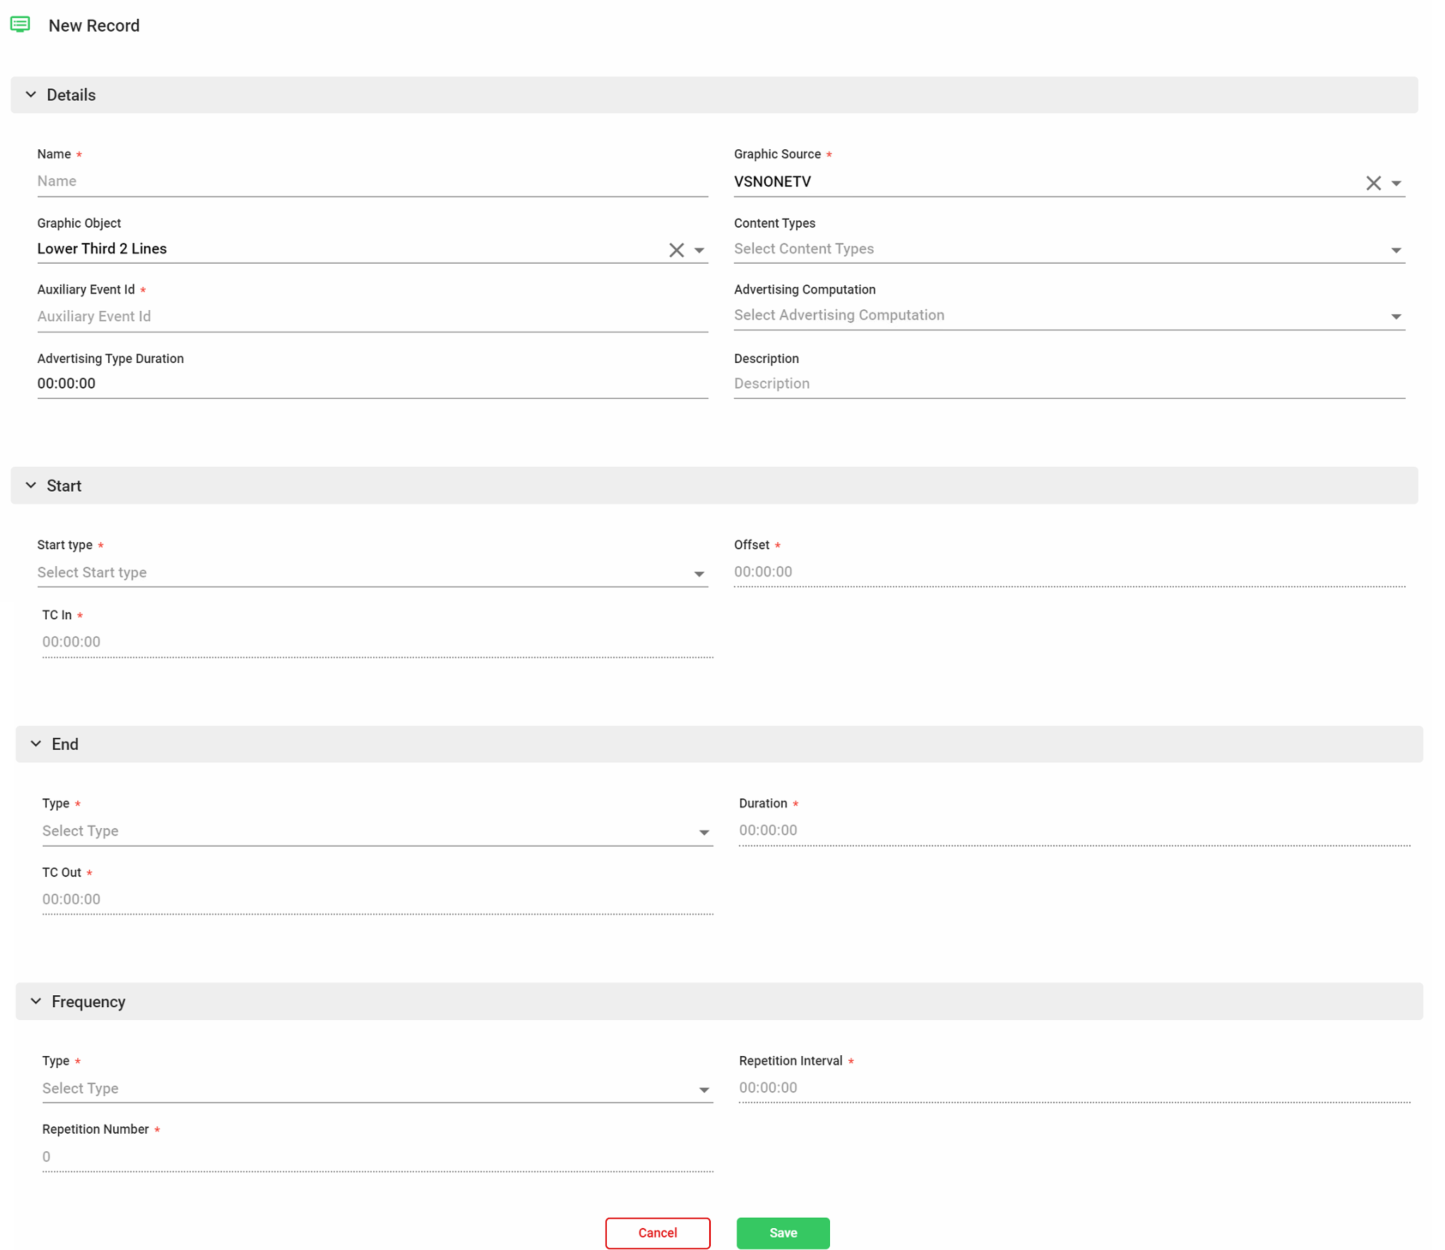
 New Graphic Template
Click on to Add a new Graphic Template.
This will open the metadata form, where you must introduce (at least) the mandatory fields.
-
Name. Introduce the name of the graphic template.
-
Graphic Source. Select the graphic source. For more information, go to Graphic Sources
-
Graphic Object. Select the graphic object. For more information, go to Graphic Objects
-
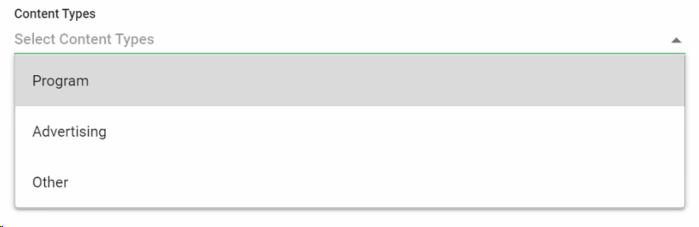
Content Types. Optionally, select the type of content of the graphic template.
 -
Auxiliary Event Id. Introducte the ID of the graphic template.
-
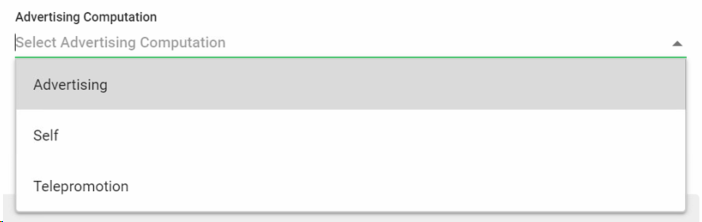
Advertising Computation. Optionally, select the advertising computation type:
-
Advertising Type Duration. Optionally, introduce the duration of the advertising type in HH:MM:SS
-
Description. Optionally , introduce a description. This text will be sent as dynamic parameter for the graphic object.
-
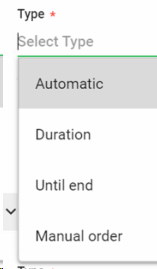
Start. Decide how the graphic will start.
-
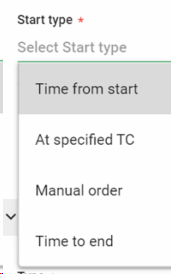
Start type. Select one of the options:
-
Offset. Only if "Time from start" or "Time to end" are selected as Start type. Introduce an offset in HH:MM:SS
-
TC In. Only if "At specified TC" is selected as Start type. Introduce a TC In in HH:MM:SS
-
End. Decide how the graphic will end.
-
End Type. Select one of the options:
-
Duration. Only if "Duration" is selected as End type. Introduce a duration in HH:MM:SS
-
TC Out. Only if "Duration" is selected as End type. Introduce a TC Out in HH:MM:SS
-
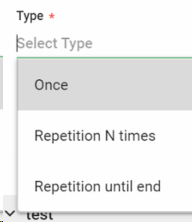
Frequency. Decide if the graphic object will be repeated while the main event is on air.
-
Type. Select one of the options:
-
Repetition Interval. Only if you set repetitions. Specify the interval of repetitions in HH:MM:SS during the main event.
-
Repetition Number. Only if you set repetitions. Specify how many times the graphic should be repeated during the main event.
To cancel the operation, click "Cancel". To save the changes click "Save". Upon clicking "Save" the new segmentation will be created with the corresponding segments
|
 Edit
Click on  to edit the selected element. This will open the corresponding metadata form in edit mode.
Click "Cancel" to cancel the operation. Click "Save" to save the changes.
|
 Delete
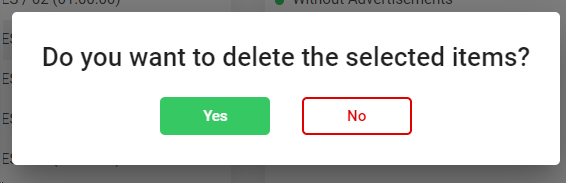
Click on  to delete the selected element. A confirmation dialog will appear:
Click "Yes" to delete the selected item or "No" to cancel the operation.
|
 Search
You can search individual elements of the catalog. In the search option of each one, start typing a text and click Enter. The system will show you the results matching with your query.
|
 Number of results
The number of results obtained will be displayed at the bottom of each catalog element.
|
 Expand / CollapseClick on  to collapse each of the catalog elements
Click on  to expand each of the catalog elements
|
 Resize section
Click on  and drag and drop with the mouse to resize each of the catalog sections.
|
The online help was made with Dr.Explain
|